I big puffy heart love my laminator and I get questions on their ease of use and what exactly to use them for so I made a step by step tutorial on how to use a laminator and share my tips and tricks for laminating solid sheets of paper vs cut-outs and all the things you can laminate! Let’s get started!
This post may contain links to Amazon Associates and other affiliates.
As an Amazon affiliate, I earn a small commission from these links at no additional cost to you.
What you will need:
To start, you will need a home laminator and thermal laminating pouches. I have listed several below! There really is no need for a fancy laminator, these basic, cheaper laminators do the job perfectly!
Laminator Machines:
Laminator Supplies:
- Amazon Basics Letter Size (A4) Laminating Pouches
- Scotch Letter Size (A4) Laminating Pouches
- Scotch 4 x 6 Photo Size Laminating Pouches
- Scotch Business Card Sized Laminating Pouches
- Scotch Variety Pack (Letter, 4×6, wallet sized pouches)
- Scotch Pouch Kit (all available sizes of pouches)
Find the ULTIMATE LAMINATING BUNDLE here that includes a machine and all sizes of pouches!
You can also order these online at Target and use store curbside pick up to grab it the same day!
[show_shopthepost_widget id=”3986580″]
Types of Laminating Sheets
Besides the size differences mentioned above in the supply list, there is also the pouch thickness of the laminating sheets.
3-millimeter sheets are thinner pouches and great for everyday use. Think chore charts, medicine charts, school papers, etc. Then there are 5-millimeter options that are a thicker pouch and more heavy-duty so think covers for art journals, DIY planner covers, or for use with thicker paper.
How to Use a Laminator
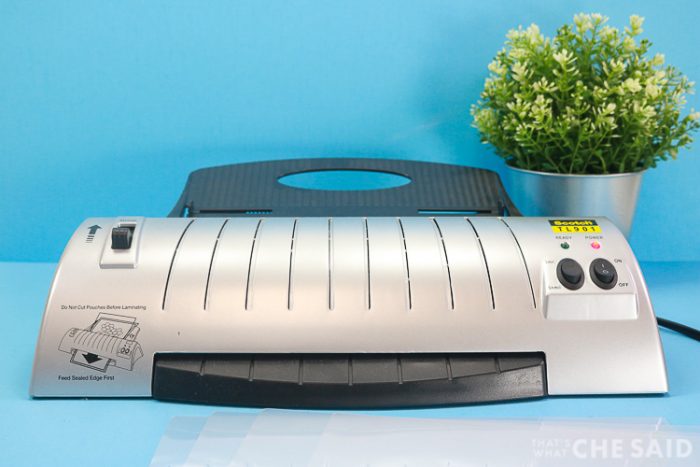
Home laminators are small in size. They are similar to an older inkjet printer. It is super lightweight and the controls are pretty basic. Buttons may be digitized and there may be an LCD display on more expensive laminators.
Mine has an on/off switch then a switch to choose the thickness of your laminating pouches and then a power and ready light. Basic works best for me!
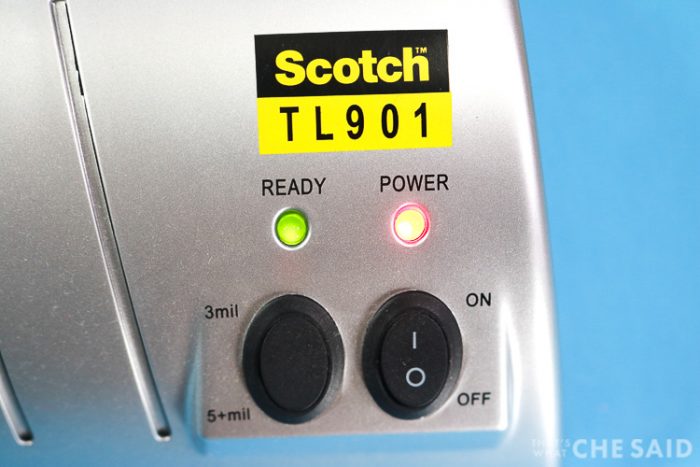
The power light illuminates when you turn the on/off switch to on and when the machine has warmed up, the ready light will come on.
While the machine is warming up, you can prepare your items to be laminated.
Don’t Miss Out!
Get quick crafts, easy recipes and free printables & cut files straight to your inbox!
Laminating Full Sheets
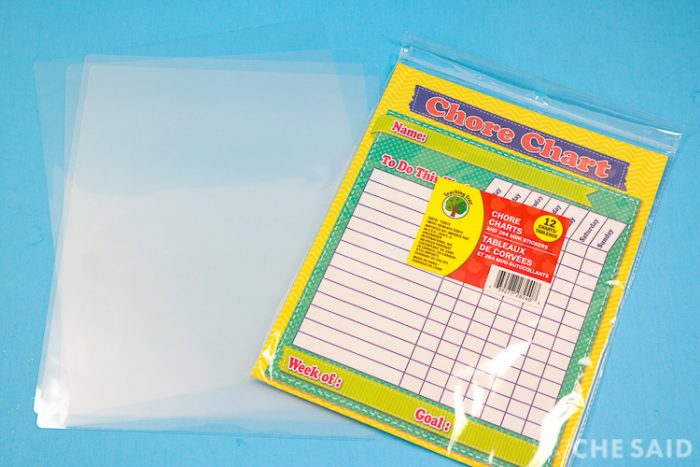
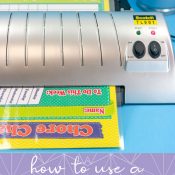
The laminating pouch is a plastic pouch that is open on 3 sides with a folded edge. You will carefully slide in the item you would like laminated from an open end of the pouch. I am laminating some chore charts I picked up at the dollar store here. Be sure to place your paper in the center part of the pouch.

Then you will feed the pouch and item into your laminator with the folded side of the pouch entering the laminator first. You feed on the top of the slot and it laminates and passes out the bottom of the machine.
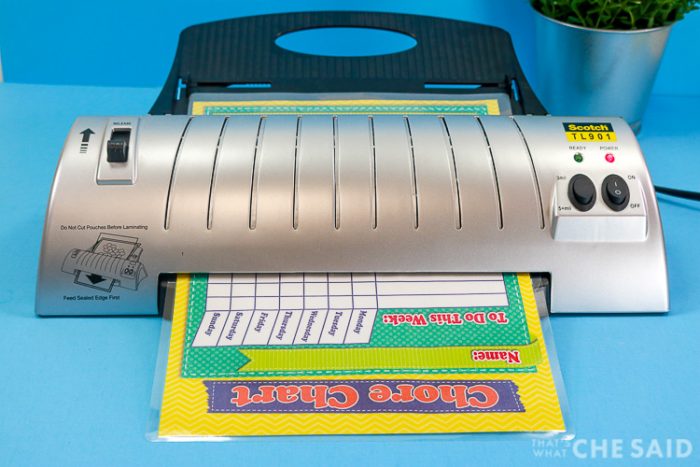
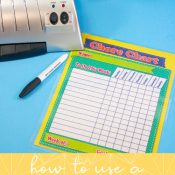
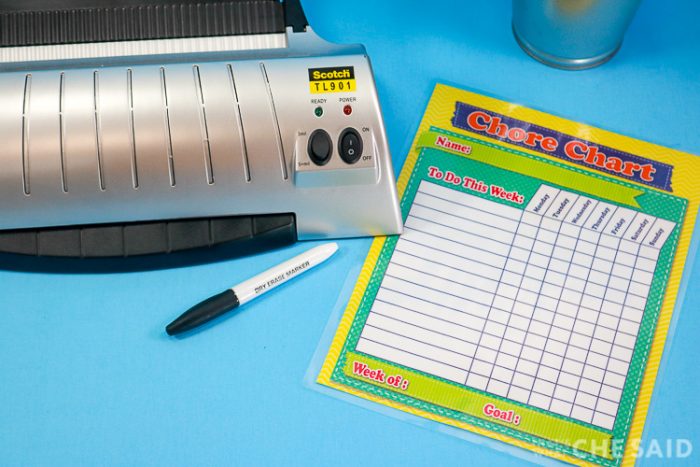
When it completes you will have a completely laminated item.
Laminating Small Items Within a Smaller Laminating Pouch
You can laminate smaller items with the appropriate sized laminating pouches same as I demonstrated with the letter-sized.
For example, a business card using a business card-sized laminating pouch.
You will just be sure to adjust the movable guides on the machine to make sure it feeds straight into the laminator
Laminating Multiple Small Items Within a Large Pouch
I decided to laminate some hearts I cut to put in my window for the quarantine heart hunters. They were all variable sizes and I only had my letter-size laminating pouches. No problem!
You can use this method on paper pieces or shapes or a smaller sheet of paper like post-it notes.
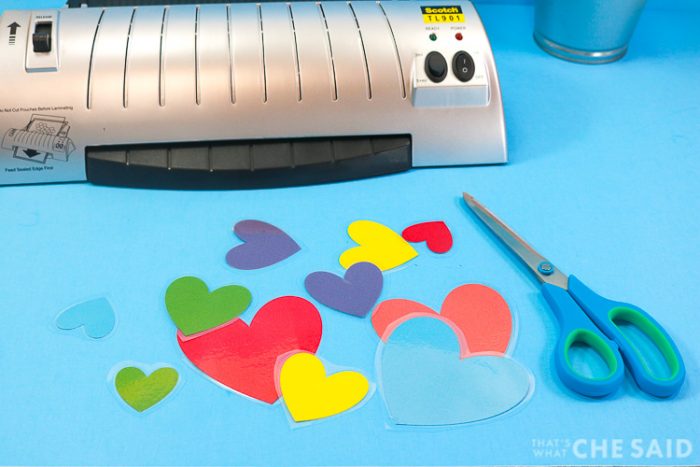
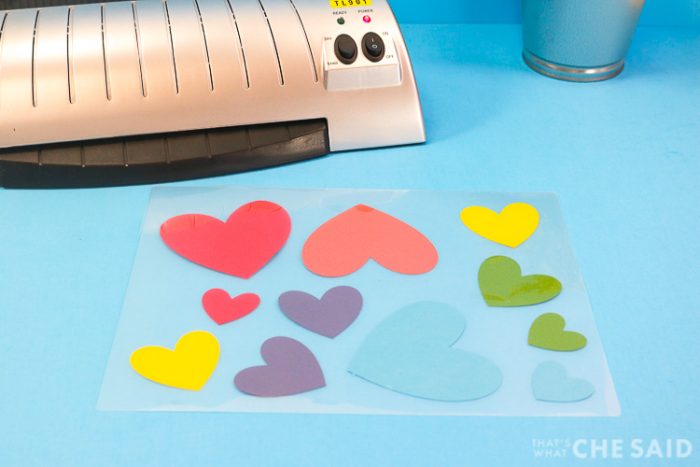
I laid out the hearts throughout the letter-sized pouch making sure to leave at least 3/4″ area between each heart.
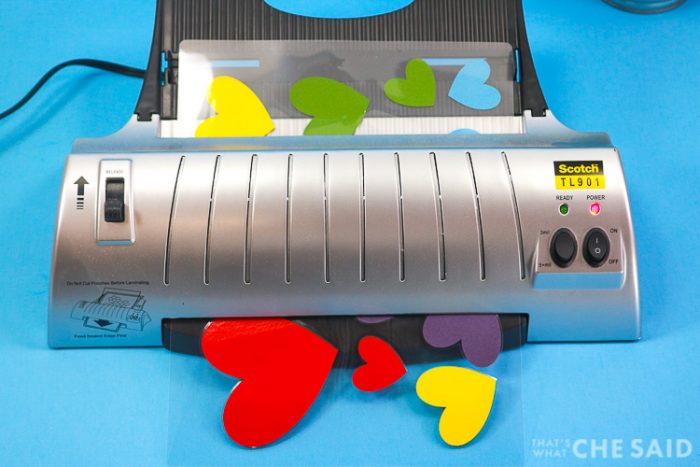
Carefully, I sent the pouch through the laminator the same as above with the sealed side of the pouch first to enter the laminator machine.
Notice there is a small seam around the hearts. This will be smaller or larger depending on the thickness of the item you are laminating. Thicker paper = larger seam and lower speed.

Using scissors, you can now cut out your smaller objects. Be sure you do not cut that small seam area. That will cause your lamination to open. Cut just outside of it. If your smaller paper pieces are straight-edged, you can utilize a paper trimmer.
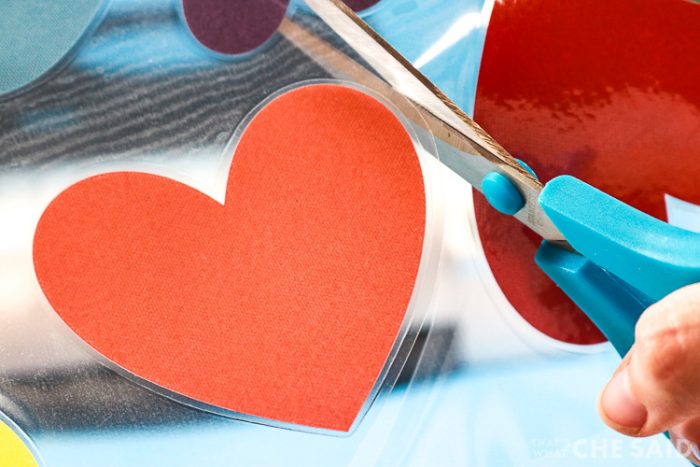
Now you have individually laminated items!
Popular Items to Laminate:
- Paper (A4, A5, A6)
- Card stock
- Construction Paper
- Paper Documents
- Homeschooling Planner Sheet
- Chore charts
- To-Do Lists
- Cooking Conversion Charts
- Babysitter Info Sheets
- Flat Stanley
- Weekly Menu Printables
- Meal Planners
- Screen Time Checklist
- Busy Bag Pieces
- Reading Logs
- First Day and Last Day of School Signs
- Scrapbook Embellishments
- Paper birthday banners
- Chicka Chicka Boom Boom Game
- Bingo Cards
- Outdoor Scavenger hunt
- Indoor Scavenger hunt
- Bookmarks
- Meal Planners
- Phone Lists
- Tooth Brushing Chart
- Number Tracing Worksheets
- Class Notes/Lists from Teachers
- Holiday Delivery Driver Printable
- Love Notes Printable
- Lucky To Have You Printable
- Gift Giving Printables
- Luggage Tag
- Signage
- Posters
Laminators are great for home, home office, or classroom settings! I utilize my laminator for more than I ever thought I would!
There is a release lever on the machine to press that will open the sealing rollers and allow you to pull out the pouch. The unit will also turn off if it gets too hot.
It is definitely warm but I would not say it is hot. You can certainly touch it and not get burnt. Always be cautious of hot surfaces.
What would YOU laminate?
Tell me in the comments below! I love getting more ideas for myself!
MORE TIPS AND TRICKS:


Did you know I have a Creative Cut Files & Printables Facebook group?
Click below to join us for more awesome inspiration and crafty fun!


Leave A Reply!