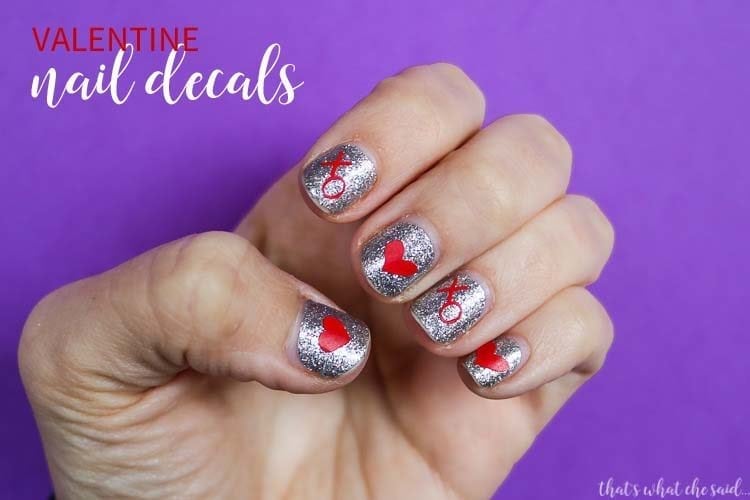
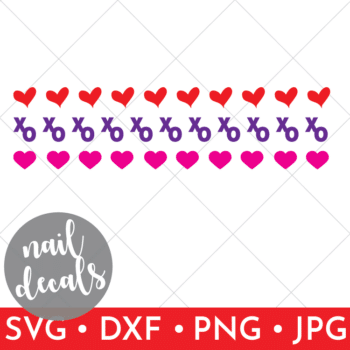
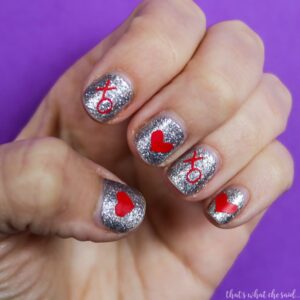
Want to jazz up your nails for Valentine’s Day? These DIY Valentine Nail Decals are easy to make with your electronic cutting machine and super cute to accent your favorite nail polish! This is a great way to use up your vinyl scraps!
Back, way back, when I was pregnant with Spangenbaby, I made these DIY flower nail decals for my toes! I can’t believe how many people loved that post so I thought I would bring it back as nail decals for Valentine’s Day!
I normally don’t have pretty nails but recently I have been getting gel manicures and/or using Color Street Nail wraps and I think it’s a little something that makes me feel better about myself. Especially because I am at a computer all day, it’s nice to have cute nails!
You can cut these in different colors or all the same color in a sheet! I will walk you through how to cut them separately or together below!
These apply super easily. I didn’t even have to use transfer tape but if you are a beginner with vinyl, the transfer tape will help you out a bit!
This post may contain links to Amazon Associates and other affiliates.
As an Amazon affiliate, I earn a small commission from these links at no additional cost to you.
Valentine Nail Decals Supplies:
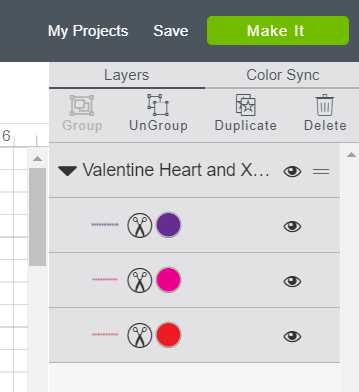
If you want to cut your designs in different colors, use the file as is! Each design is in a different color and will cut only that color.
If you want to cut all the designs in the SAME color vinyl then when you upload your design into Design Space, you will want to come to the far right and change all the colors to the same color. (it doesn’t matter which color)
This is how they will upload:
You will then click on that colored circle and a new box will open with new color choices. The colors that are currently used in the project are at the top!
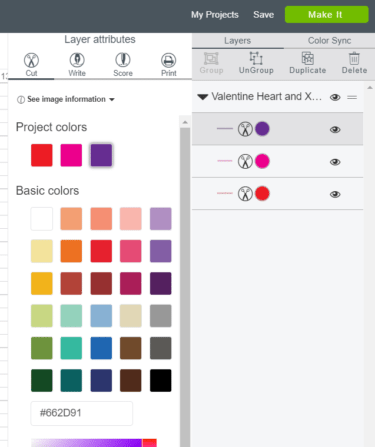
Choose one of the project colors and change all three circles to that same color!

Then you will select all three lines of decals and then the “attach” button will become visible and you will want to click that!
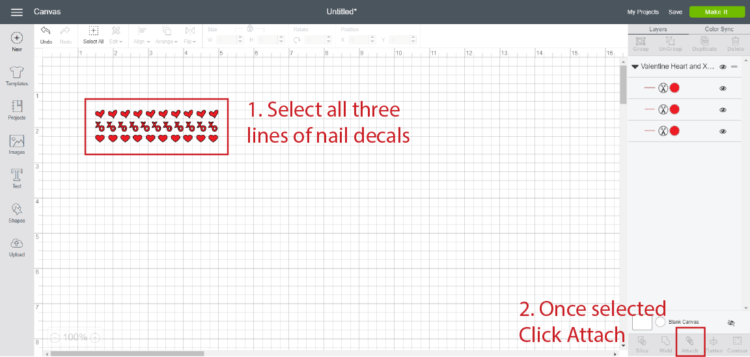
Then when you cut you will have a sheet of all the designs!
How to Apply Valentine Nail Decals:
Once you cut your Valentine’s nail decals, you will need to clean your nails with a rubbing alcohol wipe (or rubbing alcohol from a bottle and cotton ball). Then either carefully place them or use transfer tape to apply the decals to your clean, dry nail.
Get the Valentine Nail Decal File Here
Getting the freebie is easy! First, enter your email below to join my email community (AND gain access to my freebie library)!! After that, check your email for the files!
I use box.com to deliver my freebies safely!
There is no need to sign up for a box.com account!
Please see this FAQ post + Video on how to download my freebies.
This download is for personal use only!
More Nail Related Gift Ideas!

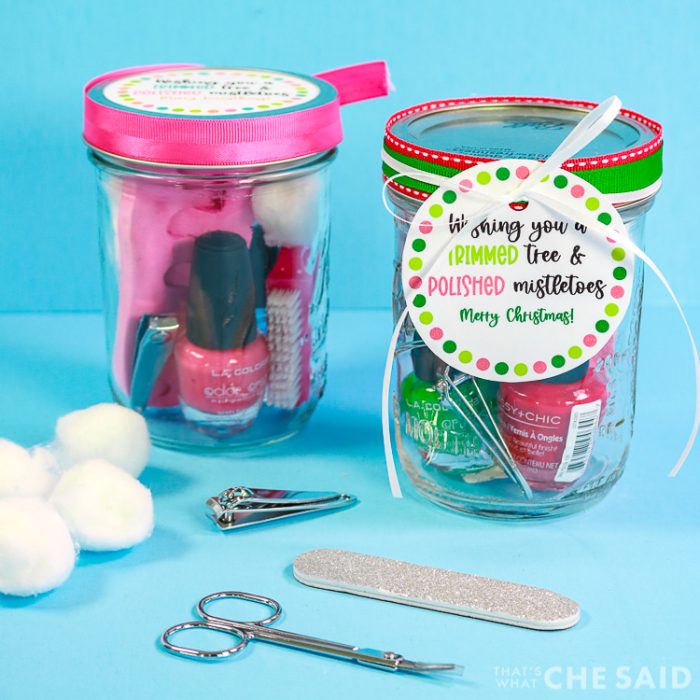
Add these Valentine’s Nail decals or my Flower Nail Decals to these fun DIY Nail Gift Ideas! There is a birthday tag and a Christmas tag!
YOU MIGHT ALSO LIKE:
- Silly Straw Printable Valentine
- Mr. Steal Your Heart Shirt File
- DIY Eye Make up Remover Pads
- How to make your own lip balm
Find all my Valentine Projects here and all my Printable Valentine Cards Here.
Pin Valentine Nail Decals


Comments & Reviews
Tina Hickey says
Love these designs!