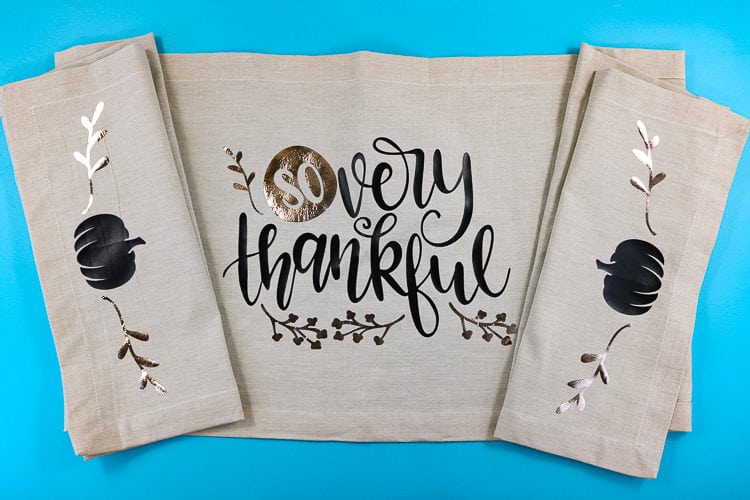
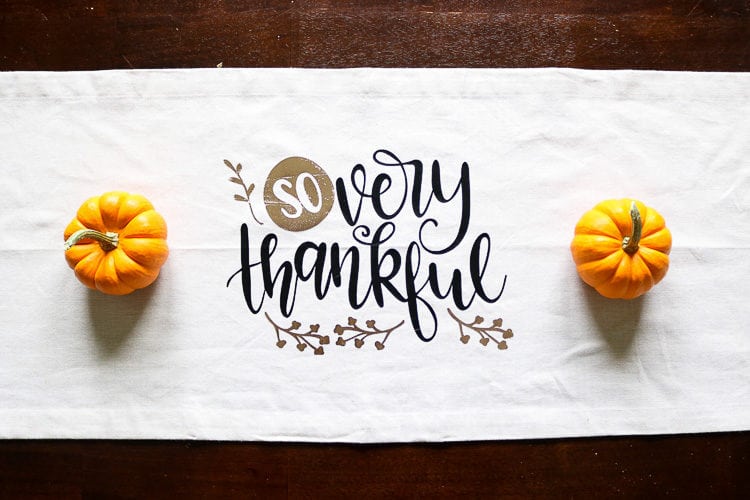
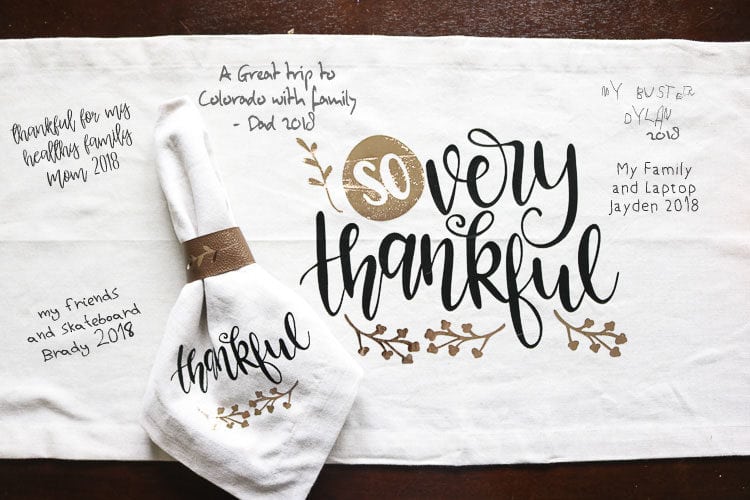
Create a personalized Thankful Thanksgiving Table Runner for yearly thanksgiving memories!! Each year have everyone at your table add what they are thankful for. Soon you will have a beautiful DIY Thanksgiving Table Runner showing all the good in your life with the people you love! A great holiday tradition!

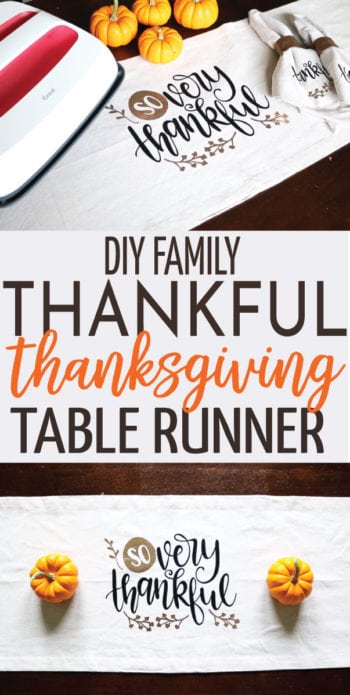
Today I am going to use the EasyPress 2 in the 12×10 size for this project. You can also use the EasyPress 3, Cricut AutoPress, or a Heat Press for this project as well!

OK let’s get to crafting!
This post may contain links to Amazon Associates and other affiliates.
As an Amazon affiliate, I earn a small commission from these links at no additional cost to you.
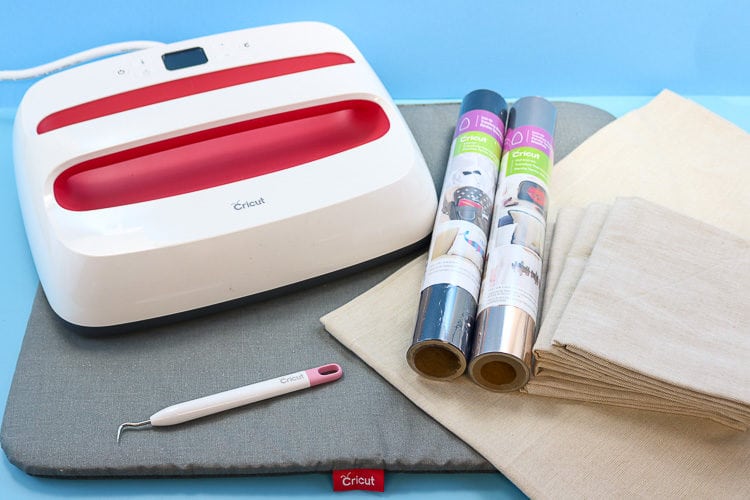
Supplies for DIY Thanksgiving Table Runner:
- Cricut Maker
- Standard Grip Mat (green)
- Cricut EasyPress 2 (12×10)
- EasyPress Mat (12×16)
- Everyday Iron-on, Black
- Foil Iron-on, Espresso
- Weeding Hook
- Natural Table Runner
- Natural Napkins (optional)
- Black Fabric Marker
You may find the project file for this table runner here in the Cricut Community.
If you are new to Iron-on you may check out my Iron-on Basics post here as well as all my tips for iron-on application. We will go over the specific application for this project below.
Cut your iron on vinyl using your Cricut Maker.
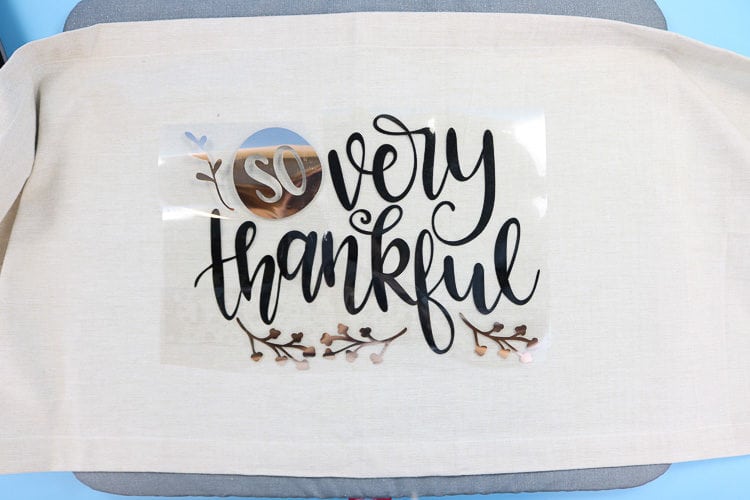
Apply the iron-on, liner side down to a standard (green) or light grip (blue) mat. Mirror your design in Cricut Design Space and then select “browse all materials” and then choose Foil Iron on or Everyday Iron-on depending on the mat you are cutting. You may find more detailed information on cutting iron-on here.
TIP: The Foil Iron-on looks a bit different than regular iron on. The pretty foil side needs to go down on your mat.
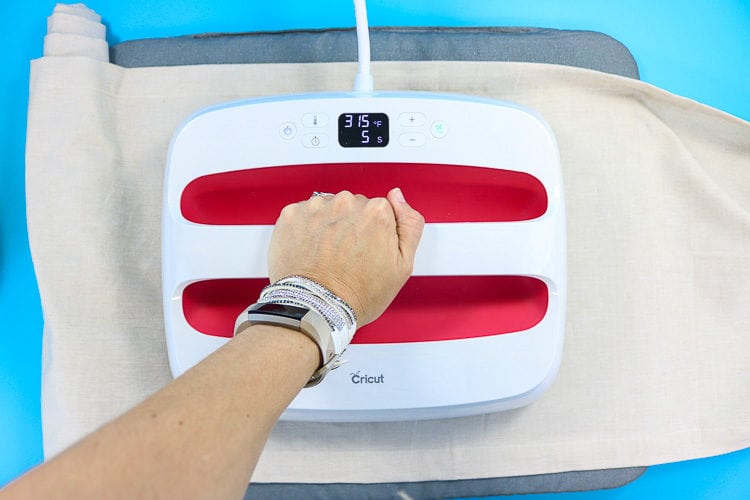
How to Use the EasyPress 2
It is always recommended to consult the EasyPress Heat Guide Settings to get the temperature and time you need to press. Simply choose your specific press, then choose your heat transfer material and then base material to get the appropriate heat settings.
I keep that bookmarked in my browser because Cricut is updating and adding more materials!
Our runner is 100% cotton and we are using Foil Iron-on and Everyday Iron-on.
Press the power button.
Press the thermometer button. This will tell the EasyPress we want to input the temperature. Use the +/- buttons to adjust.
Press the Clock button. Use the +/- buttons to adjust the time.
When you are ready to press you will press the green Cricut C and that will start the countdown timer!
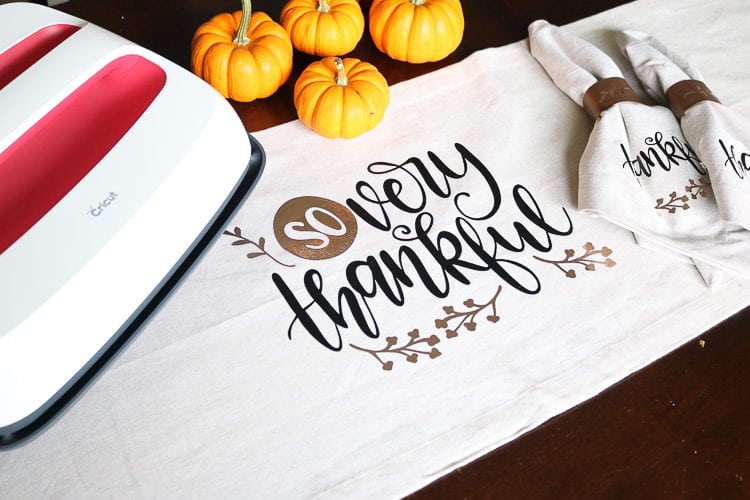
The larger EasyPress 2 size makes this runner a breeze because it covers the entire design in one press.
How to EasyPress 2 Different Iron-on Types
You may notice that Foil and Everyday Iron on each have their own specific settings on the recommended settings chart. What do we do now?

When this is the case, you want to start with the material with the HIGHEST temperature. So, for our project, we will start with our Everyday Iron-on.
Everyday Iron-on Application:
- Preheat the runner for 5 seconds.
- Apply the Everyday Iron-on with liner side up onto the runner.
- EasyPress at 315F or 30 seconds.
- Turn over and heat the back for 15 seconds.
Everyday iron-on is WARM peel so we can remove the liner as soon as it is cool enough to touch.
Foil Iron-on Application:
- Preheat the area for 5 seconds.
- Apply the Foil Iron-on with the liner side up onto the runner.
- EasyPress at 295F for 30 seconds.
- Turn over and heat the back for 15 seconds.
Foil Iron-on is a COOL peel which means you need to wait at least 2 minutes until the material is cool to remove the liner.
TIP: So that you don’t have to keep changing the temperature of your EasyPress 2, work with all the Everyday Iron on at once and then move to the foil.
I pressed all my black iron on first and then went back and did the foil. You may have to give your EasyPress 2 a few minutes when you change it from 315F to 295F to “cool” to 295F.
Note: I did not have to worry about covering the black everyday iron on the design when pressing the foil adhesive. I pressed directly on top and it was perfectly fine.
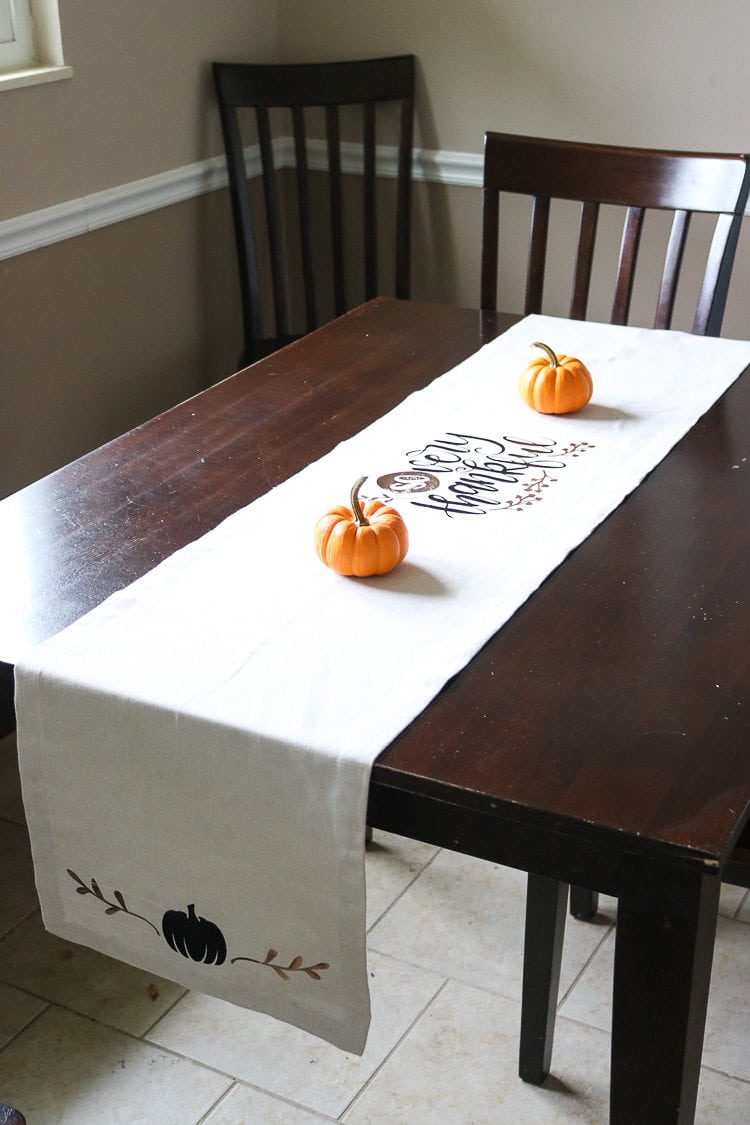
How to Use DIY Thanksgiving Table Runner
Option 1: Use the runner on your table and have each member add what they are most thankful for that year with the fabric pen. Keep adding year after year until you are left with a wonderful family memory keepsake!
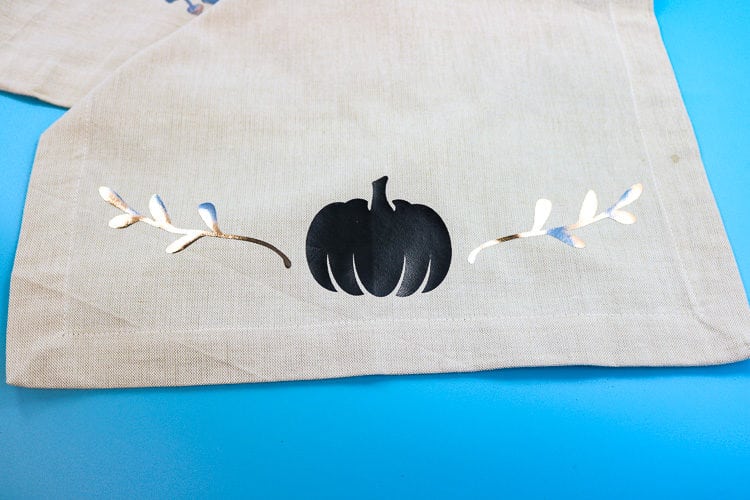
Option 2: Instead of writing on the runner, give each member of your family their own napkin. Have them write what they are thankful for on their napkin and add to it each year!
I am imagining this with your immediate family, so I would do it for my family of 5! It doesn’t have to be on Thanksgiving Dinner it could just be for around Thanksgiving time!
You can check out all my Cricut Tutorials and Projects here as well as a Cricut Deals page with the current Cricut promotions!
Be sure to sign up for my emails and be the first to know about all my new Cricut Projects!
Don’t Miss Out!
Get new Cricut Tutorials, Product Announcements, Project Ideas, SVG Files and more straight to your inbox!
MORE CRICUT PROJECTS YOU WILL LOVE


MORE THANKSGIVING PROJECTS


")

PIN THANKSGIVING TABLE RUNNER
Thanksgiving Traditions from my Friends:


Comments & Reviews
Diane says
Very informational tutorial Nice job.
Cheryl Spangenberg says
Thanks Diane!
Amanda says
Great job!! Beautiful!
XoXo,
Amanda
Cheryl Spangenberg says
Thanks, Amanda!
Colleen says
I love this, where did you get the svg, I would love to make it for this Thanksgiving if possible.
Thank you
Cheryl Spangenberg says
Hi Colleen, it’s a part of the Cricut Design Space Library. I have it linked right under the supply list.
Darlene says
What font is that?
Cheryl Spangenberg says
Darlene, it is a design in Cricut Design Space.
Darlene says
I know it is a design. However it does not list the fonts used. I would like to know what the font is .
Terri Armstrong says
Thank you for posting this project, I love it!! The link you supplied is only for the table runner. Is there a link to do the napkins? I’m doing the table runner right now and would like to do the napkins as well.
Cheryl Spangenberg says
Sure thing Terri! The napkins can be found here: https://amzn.to/32WH8Gu
Terri Armstrong says
Thank you for the quick response. I have purchased the napkins, I was asking about the link to design space to make them. Is it just the same pattern for “thankful” just sized down? If so, what size did you make it for the napkins?
Cathy Dickman says
No design space – need svg :-(
Cheryl Spangenberg says
Sorry, Cathy, this was a post for Cricut and I used Cricut images for it! I cannot provide it in SVG form.
Debra says
I love your able runner and I am thankful for all that you’ve shared with each of us.
Cheryl Spangenberg says
Thank you, Debra!