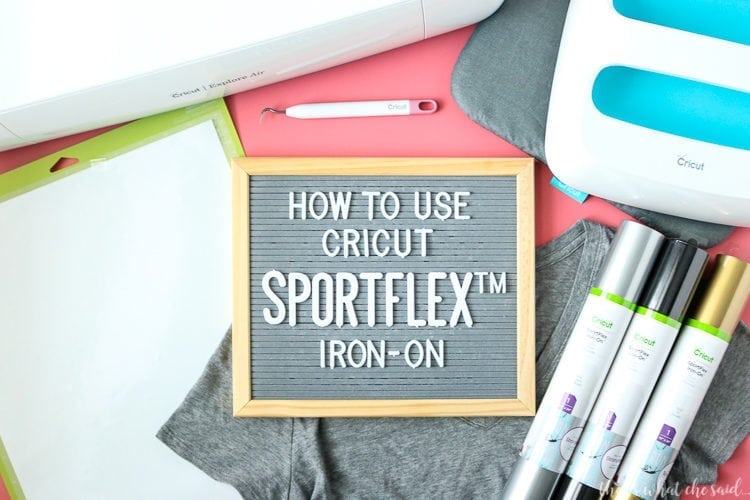
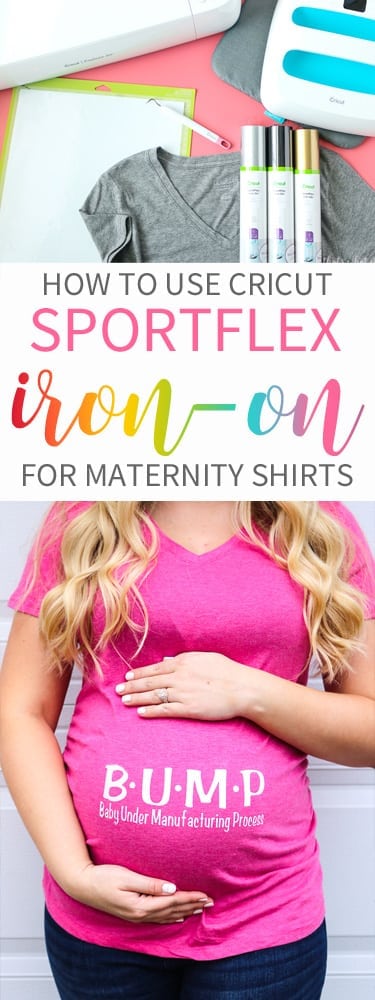
If you love to make shirts with your Cricut machine you are going to love the new Cricut SportFlex Iron On™ Vinyl! It has enough stretch that is perfect for workout shirts, swimsuits, workout gear, yoga pants, leggings, and my favorite..maternity shirts! I am going to show you exactly how to use Cricut SportFlex Iron On™.
Not using Sportflex iron-on?
Check out this post on how to cut Cricut Iron On if using another type of iron on and also How to Correctly Apply Iron On. If you are making a complex design, this tutorial on How to Layer iron-on will be helpful!
It’s no secret I love to make shirts with my Cricut. I especially love to make funny baby onesies and maternity shirts! The dilemma I encounter with maternity shirts is that the shirt obviously stretches over a belly (and even the girls!)…normal heat transfer vinyl does not. This is where the new Cricut SportFlex Iron On™ is a match made in stretchy heaven!
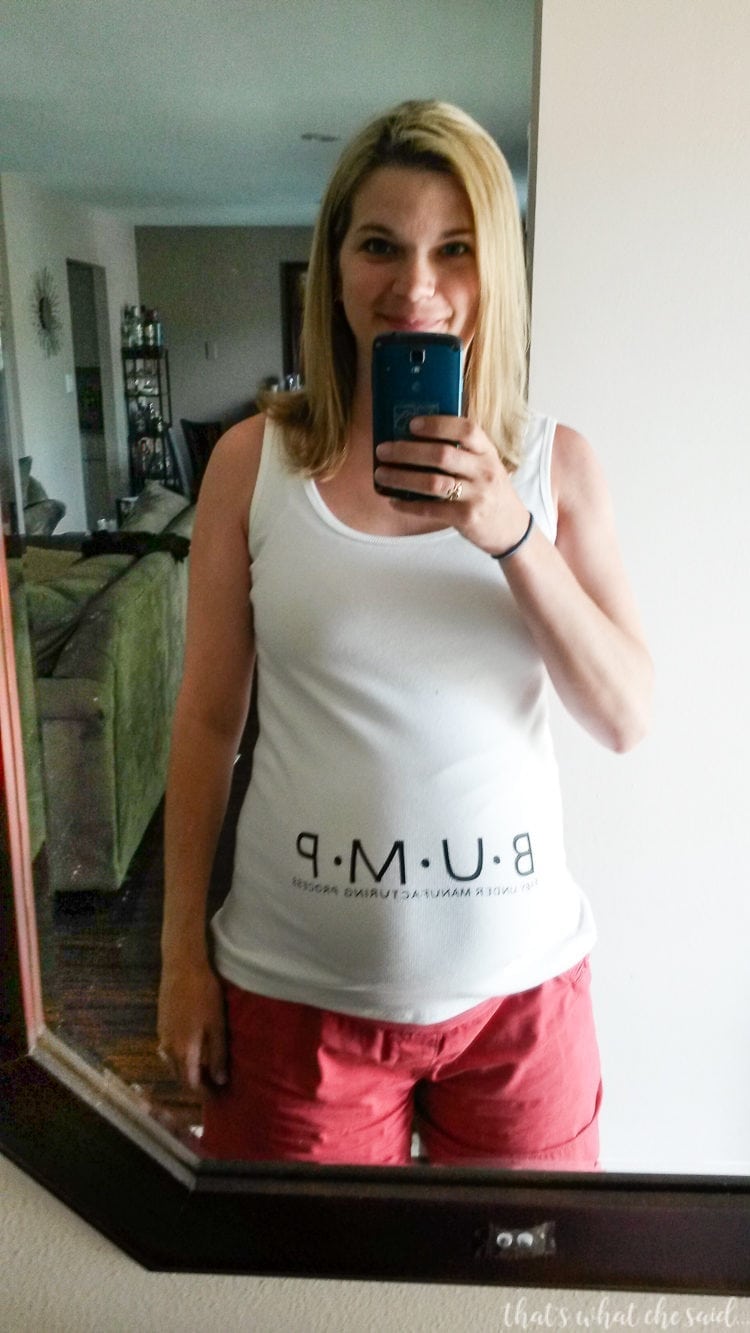
Here is a shirt I made for myself when I was pregnant with Spangenbaby. (Please don’t mind the awkward belly selfie) Do you see the poor iron on hanging on for dear life as the shirt stretches across my belly? I know, I feel sad about it too!
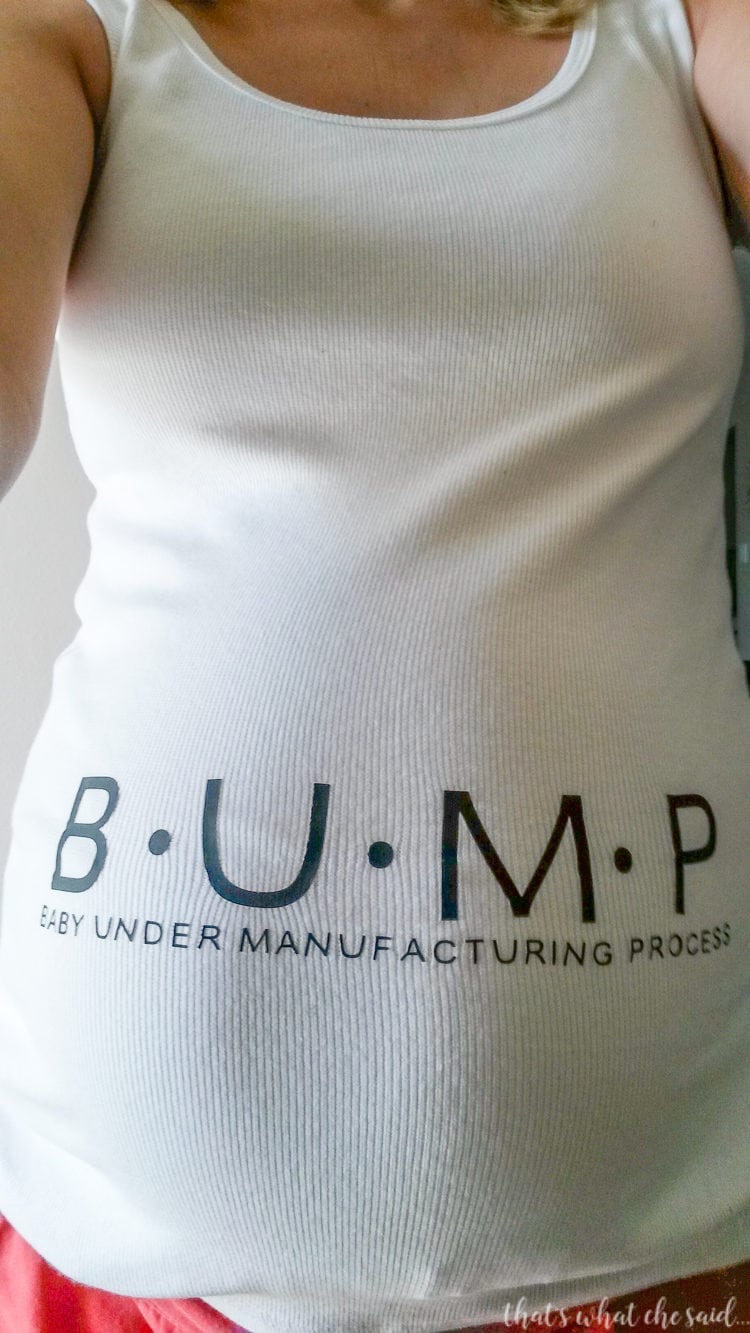
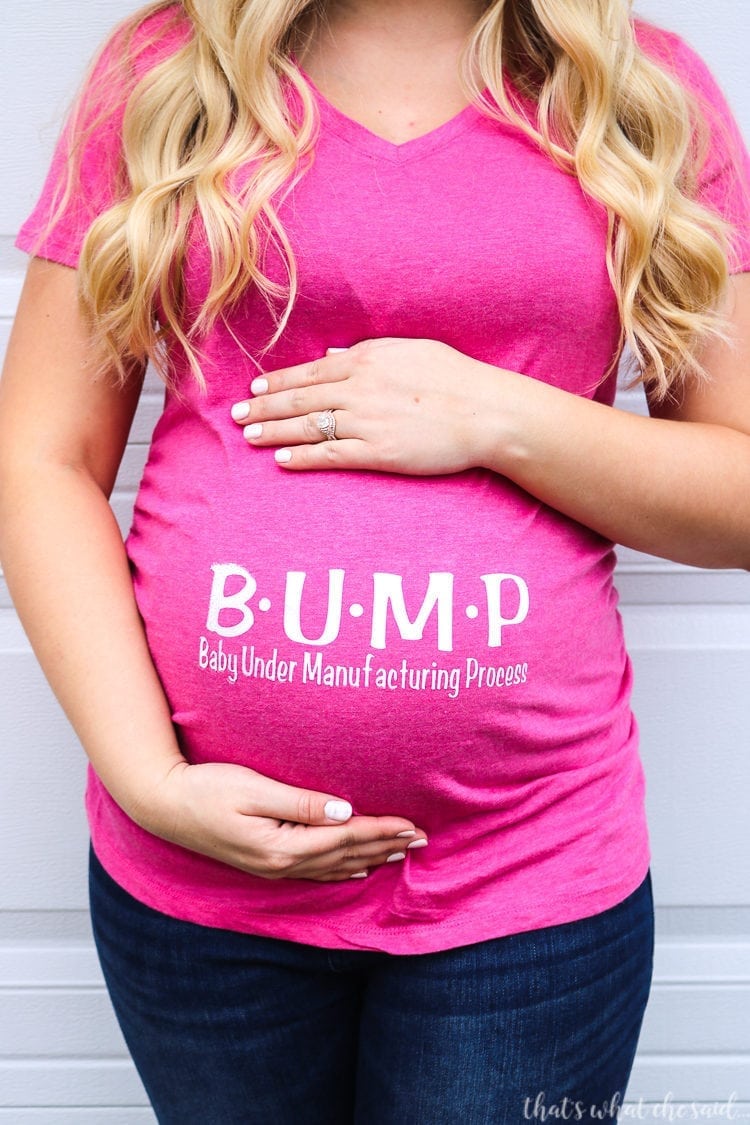
Here is the shirt I made with Cricut SportFlex Iron On™! (No, not my belly but a friend’s — this baby shop is CLOSED!) See how much better that works? It’s thin, super flexible, has great stretch to it, and is perfect for Nylon activewear and Polyester materials like tech fabrics used for workout clothes! I am making all the yoga tops for sure!

This post may contain links to Amazon Associates and other affiliates.
As an Amazon affiliate, I earn a small commission from these links at no additional cost to you.

Supplies Needed for Cricut SportsFlex Iron On Project:
- Cricut Cutting Machine
- SportFlex Iron On™ in your choice of color(s)
- Scissors
- Weeding Tool
- Blank Maternity T-Shirt
- Cricut EasyPress™ or Iron
- EasyPress Mat
- Thin Cloth (optional)
You can find many of these items in my Shop on Amazon!

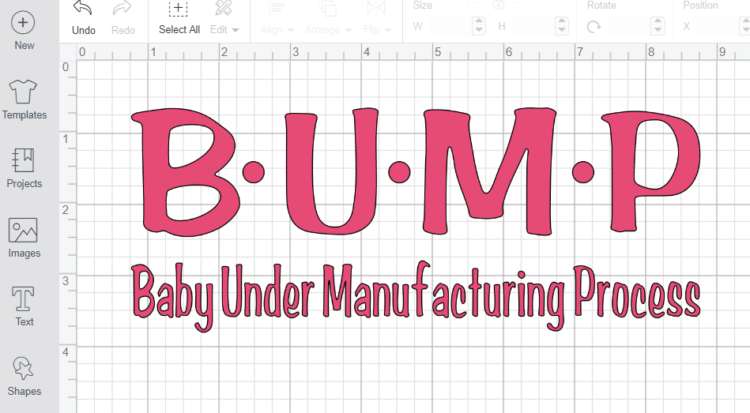
I made this fun file using the font Arab Brushstroke std Regular from Cricut Access as well as a circle shape! Nothing fancy and you can find the Cricut Design Space file here.
How to Cut SportFlex Iron On™:
- Load your mat with the SportFlex Iron On™ lining (shiny) side down.
- For the Cricut Explore Air Family turn the Smart Set Dial to Custom. Select SportFlex Iron On™ from the list of materials. For the Cricut Maker select the SportFlex Iron On™ Setting.
- MIRROR your design.
- Cut image or design on SportFlex Iron On™

SportFlex Iron On™ Application:
How to Apply SportFlex Iron On Using a Regular Iron:
- Using the Hook tool, weed your design. This means removing the extra iron-on material from the lining sheet leaving only your intended design.
- Set Iron to WOOL setting. Make sure the steam setting to the iron is OFF.
- Use the iron to preheat the area you will be applying your design. Preheat for 5-10 seconds.
- Apply the SportFlex Iron On™ onto your preheated material blank with the lining UP. You do not need to use a thin press cloth, however, I recommend it so that you don’t get an Iron shape imprint on your shirt! The lightweight cloth really helps!
- Apply Medium Pressure and press for about 20-30 seconds.
- Flip the material over and Iron on the back of the material for about 10 seconds.
- Let cool for 1-2 minutes and remove the plastic lining. (This is called a Cold Peel)
Appy SportFlex Iron On Using a Cricut EasyPress™ with EasyPress™ Mat:
- Set EasyPress Temperature to 305 F/151 C.
- Preheat the area for 5 seconds
- Apply the weeded image in SportFlex Iron On™ onto your blank with the liner side UP. For Polyester fabrics, use a Teflon Sheet or piece of parchment paper. A protective sheet is not necessary for Nylon materials.
- Press for 30 seconds.
- Flip the material over and Press the backside of the garment for about 15 seconds
- You may then remove the plastic lining (Warm Peel technique)

If using Cricut EasyPress™ with a towel in place of the EasyPress™ Mat:
- Same as above except use 315 F/157 C temperature settings.
You can also use the same heat settings as the EasyPress for a Heat Press as well.
Tips & Tricks for Using SportFlex Iron On™
- Pre-wash fabric base materials without fabric softener to pre-shrink and remove chemicals that may prohibit strong adhesion.
- It is recommended to ONLY layer with other colors of SportFlex Iron On™ and only 2 layers at most.
- Wait 24 hours to wash.
- Wash and Dry with the garment inside out.
- If you need to re-iron your garment, do so from the backside of the fabric.
- Make sure to follow my Preparing your Blank instructions before applying your SportFlex Iron On™
- For best adhesion to your base material, use a firm pressing surface. Avoid flimsy ironing boards.
Uses for SportFlex Iron-on
This is not just for maternity shirts, it is a perfect choice for other stretchy materials such as swimsuits, dance leotards, uniforms, team jerseys, Dri-fit workout gear, leggings and more! SportFlex is a game changer for all those Nylon and Polyester shirts you couldn’t personalize before! Order as an 11.8 x 24 sheet, which can make multiple projects depending on size and it also comes with the Cricut StrongBond Guarantee.
You might also find these Cricut posts helpful:
- Getting Started with Your Cricut
- Heat Transfer Vinyl Basics
- Cutting Heat Transfer Vinyl with your Cricut
- How to Upload SVG Files into Cricut Design Space
You might also really like these Cricut projects:


Don’t miss another Cricut project or tutorial! Sign up for my email here:
Don’t Miss Out!
Get new Cricut Tutorials, Product Announcements, Project Ideas, SVG Files and more straight to your inbox!
Pin How to Use SportFlex Iron On™


Comments & Reviews
Jodi Geers says
I have a question….what is your opinion about using the Flex Iron-on on %100 Cotton? Will it still work even though the material doesn’t give like polyester or knit? Thank you for your help!! The tutorial is really helpful. I’m such a newbie.
Cheryl Spangenberg says
It will still work Jodi but you could probably just get away with using the regular Iron-On or Iron-on Lite in that situation! Since it doesn’t need the stretch!
Lanie says
I just tried sport flex for the first time. It looks wrinkly when it cools. Not crisp. But I thought it would be lighter on a shirt, not the heavy plastic feel that regular vinyl has. What did I do wrong.
Cheryl Spangenberg says
Hi Lanie! Some questions first: 1. Did you prewash your shirt? 2. What kind of shirt were you using? What fabric? 3. What heat settings did you use and was it with an EasyPress or an Iron? I haven’t had this problem so I am hoping we can figure it out.
Laura says
Thank you so much for this tutorial! I struggled so badly until I came across this post! God bless you!
Cheryl Spangenberg says
So happy to have helped, Laura!
Jess says
How do you measure for vinyl placement on bump shirts? How many inches down does the design start. Is there any good guides for this?
Cheryl Spangenberg says
Hi Jess, that is a great question. If the shirt has rouching on the sides I normally center within that if not, I’d just try it on if you can, and mark the area. I am not sure there is a rule of thumb you can follow since all maternity shirts are so different.
Irene says
Hi,
I want to use the Flex Iron on a tank that is polyester but also Spandex. The tank is also ribbed do you know if the flex iron on will stick to it?
Cheryl Spangenberg says
Hi Irene, it is hard to say without testing myself but if there was a chance, SportFlex would be it! I would think as long as the design is not very intricate, I should work! Fingers crossed!