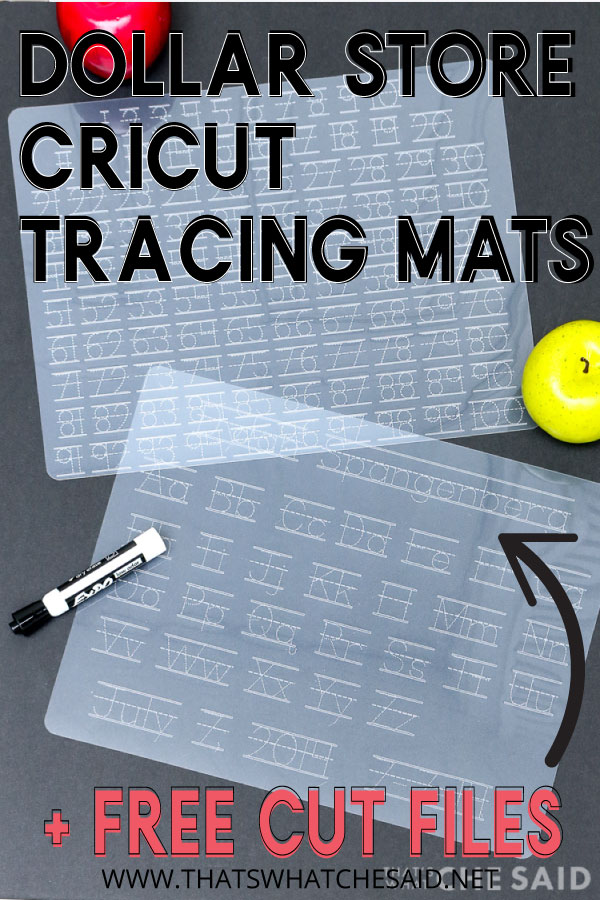
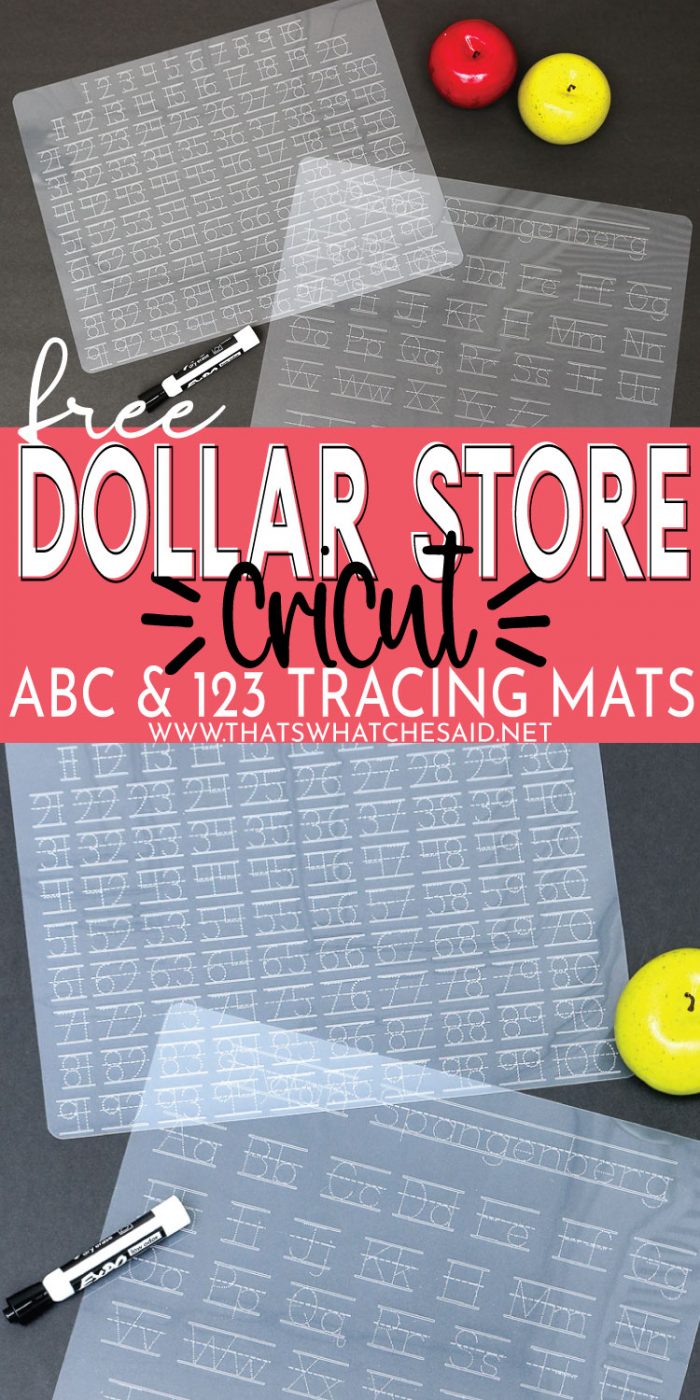
Hey Cricut lovers! Hey, Cricut lovers with small people at home! I have an awesome DIY Dollar store tracing mats project for you today and you DON’T need the Cricut Maker! That’s right, Cricut Explore users can do this project as well as Maker users! Turn cutting mats into personalized tracing learning mats + 10 more Cricut Dollar Store Projects from my friends!
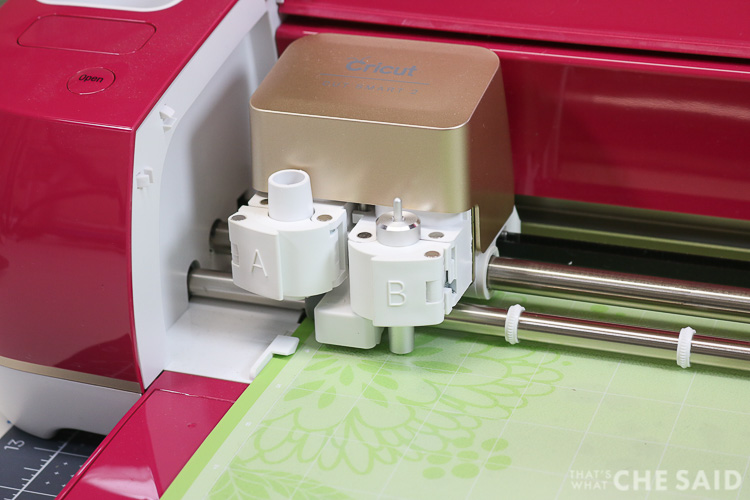
For this project we will use our fine tip blade! That’s right, the fine tip blade which means that this project is great for both Explore and Maker machines!
I tried the engraving tip in addition to the fine-tip blade, but I got much better results just using the fine-tip blade. We will need to make a custom material but that is easy peasy and I will show you how below!
Let’s get started!
Don’t Miss Out!
Get new Cricut Tutorials, Product Announcements, Project Ideas, SVG Files and more straight to your inbox!
Tracing Mat Supplies
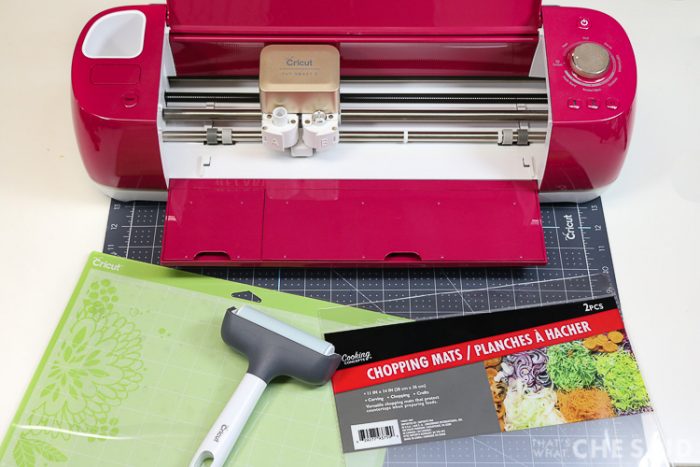
- Cricut Explore or Maker cutting machine
- Dollar Store Cutting Mats (2 per pack)
- 12 x 24 StandardGrip Mat (Green Mat)
- Cricut Brayer
- Dry Erase Markers

Outside of physical supplies, you will need some digital supplies also. You will need to download and install a tracing font to your computer for use.
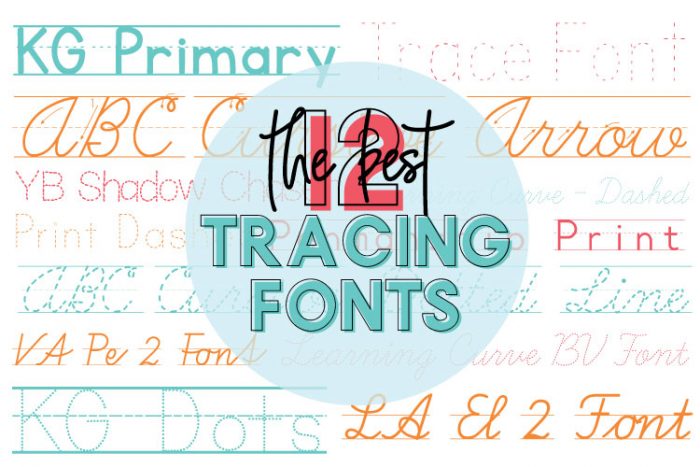
You can find some of my favorite Free Tracing Fonts Here. I used KG Dots
*Most free fonts are for personal use only. It’s is important if you want to sell these mats, that you purchase the commercial license from the font developer. You can read more about the importance of licensing on this post.
How to Make a Dollar Store Learning Mat
Time needed: 1 hour and 15 minutes
Turn dollar store cutting mats into personalized learning and tracing mats using your electronic cutting machine!
- Download & Install Tracing Font
Choose a tracing font and download to your computer for use with Cricut Design Space. You can find detailed instructions on downloading and using fonts with a Cricut here.
- Create your Design
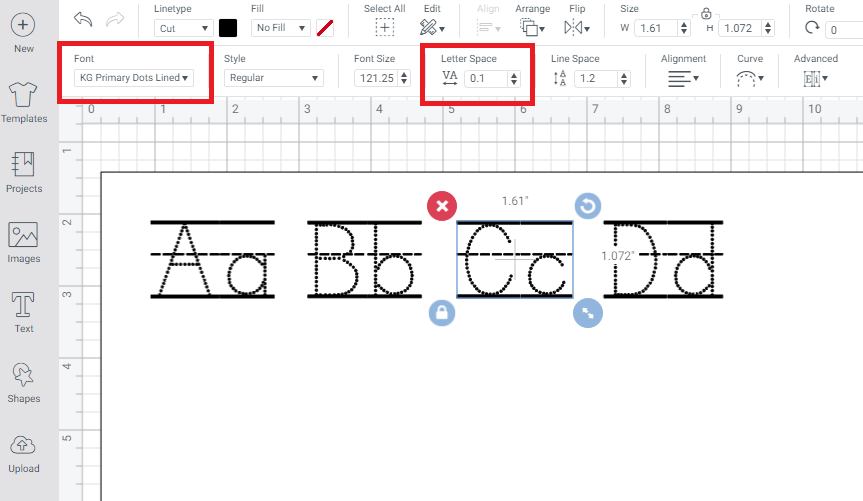
Open a blank canvas in Cricut Design Space. The mats are 11 x 14 so I find it helpful to create an 11 x 14 rectangle to use as a guide (I changed the color to white) Note: We will not cut this rectangle
Add all the information you would like to on the canvas being sure to stay within the area of the rectangle.
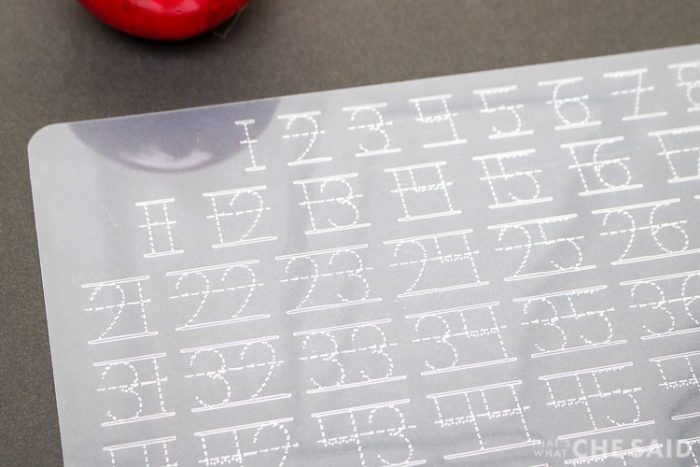
TIPS: I used KG Primary Dots Lined font and needed to move the Letter Spacing down to 0.1 in order to get the 2 letters to appear as a single block. - Attach Layers
First you may delete the 11×14 rectangle or use the “eye” to turn that layer off so it does not cut.
Select all layers of your letters or numbers and click the “attach” tool so that they stay exactly where you put them! - Click Make It
In the upper right-hand corner, select MAKE IT.
- Select Large Mat & Mirror
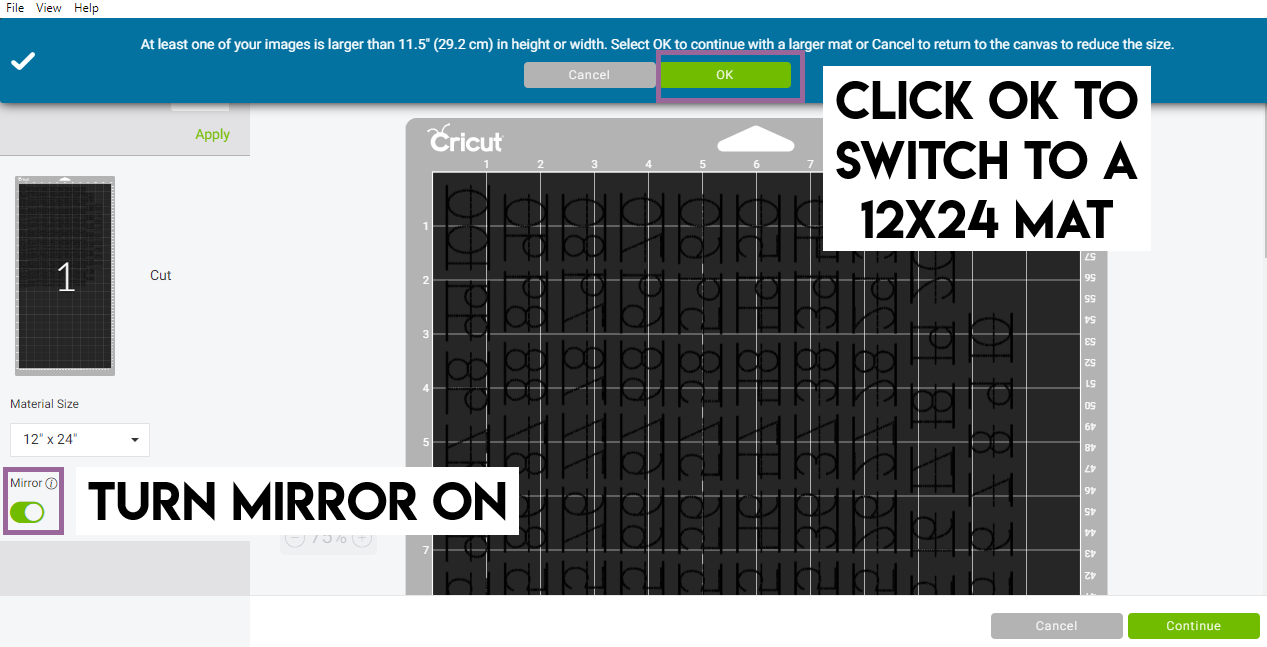
You will automatically get a blue message banner at the top of the screen because our design is larger than 12 x 12 saying CDS will move you from a 12×12 mat to a 12×24 mat. Click OK.
You will also need to MIRROR your design. Click CONTINUE in the bottom right after both of those tasks are complete. - Create a Custom Material
If using an Explore machine, turn your knob to CUSTOM. If using a Maker just keep following along!
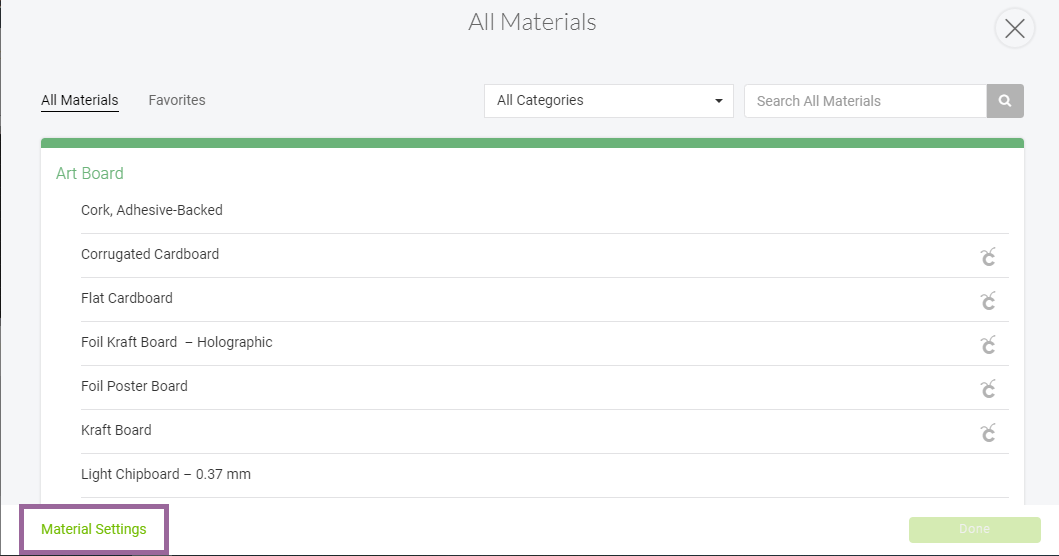
For Materials, click “Browse All Materials” and in the bottom left corner is a link for Material Settings, click that link. - Create Custom Material
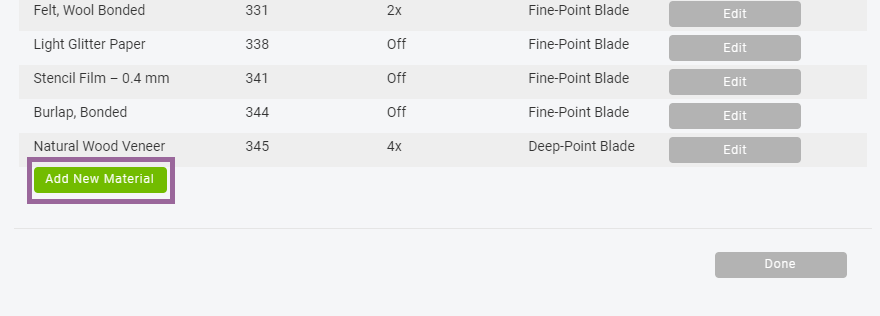
Next you will Create a Custom material by scrolling past all the materials to the very bottom and click the button that reads “Add New Material”
- Assign New Material
Enter a new material name, I used “Tracing Mats” and then slide the slider up to 320. Keep double pass on OFF and keep FINE-POINT blade selected as your tool. Click SAVE.

- Select Material
In the Search Bar, simply search whatever you named your new material and select it as your material.

- Enable MORE Pressure
Once your material is selected, you will want to switch the drop-down below that from Default to MORE.

- Prepare your Mat
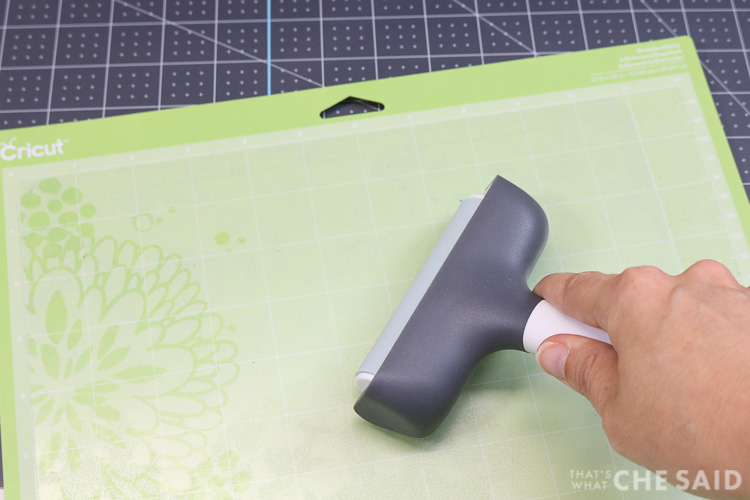
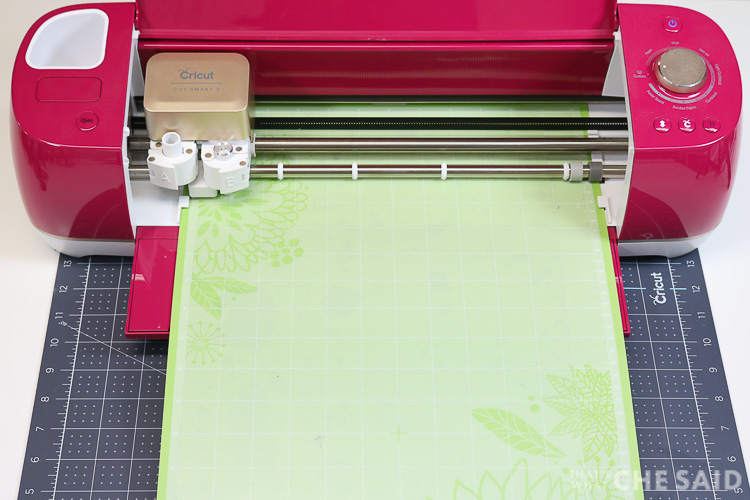
You will want to place the Dollar Store Cutting board mat with the SHINY SIDE DOWN onto a 12 x 24 StandardGrip mat (green mat). Ensure it’s firmly in place by using a over the whole cutting mat.
- Load the Mat
Load the Mat with the flashing arrow button
- Make it!
Click the Flashing “C” button and let it do its thing! It takes a bit of time depending on how much you put on your mat.
Unload after it’s finished. - Use the Tracing Mat
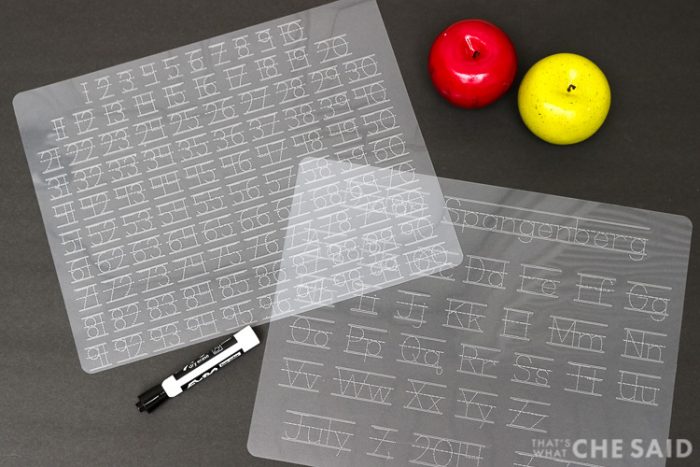
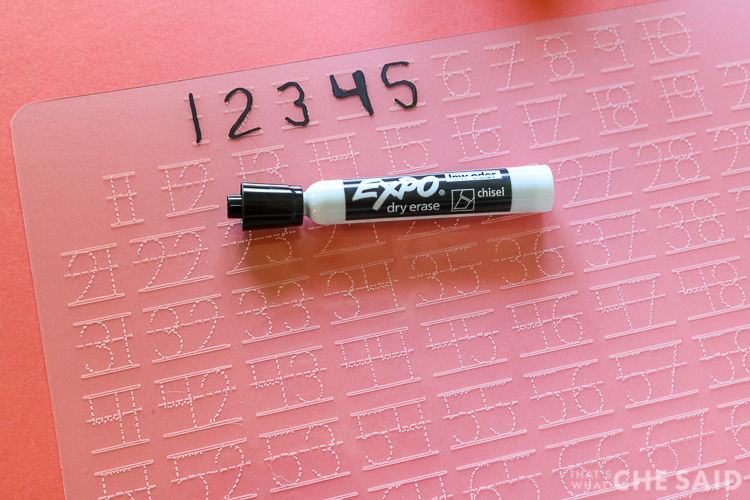
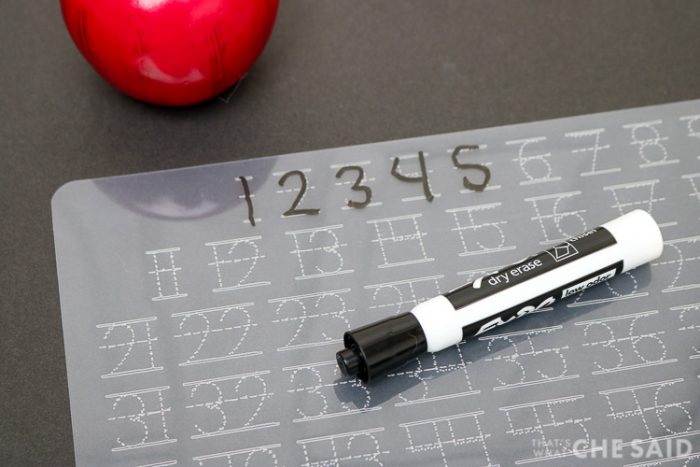
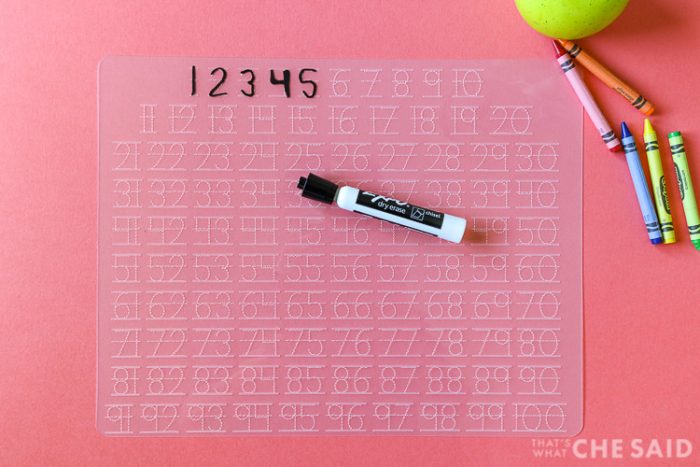
Flip the mat over so the shiny side is UP and use a dry erase marker to trace! Wipe clean with a tissue or wet cloth! You can use it over and over!
Ideas for Dollar Store Tracing Mats:
- Child’s name
- Address
- Phone Number
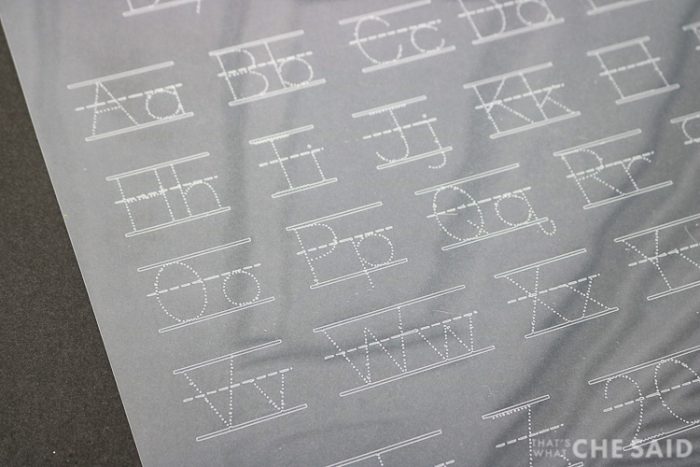
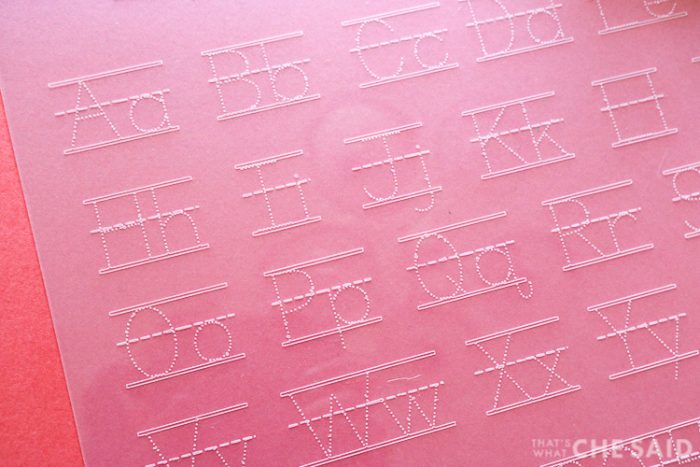
- Alphabet (Upper, Lower, Print, Cursive)
- Numbers
- Shapes
- Colors
- Clock with Hands to learn Time
- Sight Words
- Family’s Names
The options are endless! If you end up creating these I would love a tag on social media or you can email me!
Download Generic Pre-Made Files
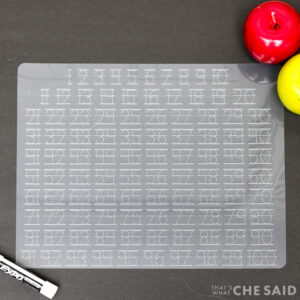
(Numbers to 100 and Alphabet)
Getting the freebie is easy! First, enter your name and email below and join my email list community (AND gain access to my freebie library)!! After that, click the download button and the freebie will begin automatically.
I use box.com to deliver my freebies safely! There is no need to sign up for a box.com account!
Please see this FAQ post + Video on how to download my freebies.
This download is for personal use only!
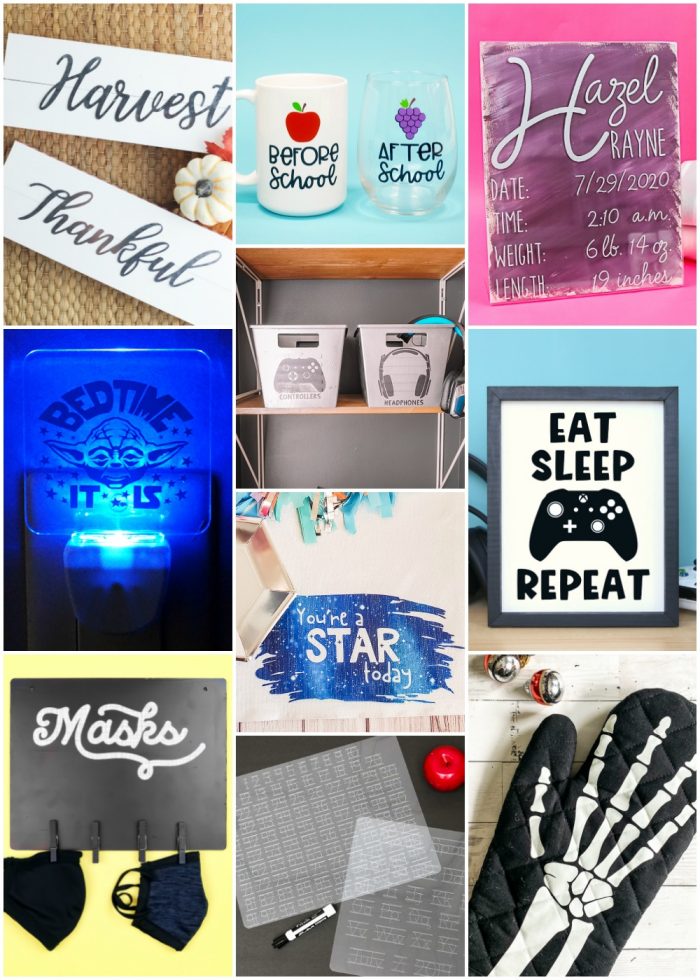
MORE CRICUT DOLLAR STORE PROJECTS
Click the links below to discover some more awesome Cricut Dollar Store Projects from my talented friends!
- Reverse Canvas from Happy Go Lucky
- Dollar Store Fall Sign from Hello Creative Family
- Yoda Night Light from Artsy Fartsy Mama
- Before/After School Mug and Wine Glass from Happiness is Homemade
- Infusible Ink Placemat from Crafting in the Rain
- Skeleton Hand Oven Mitt from Everyday Party Magazine
- Painted Acrylic Sign from The Country Chic Cottage
- Penmanship Tracing Mats from That’s What Che Said
- Potholder Baking Mix Gift Set from Brooklyn Berry Designs
- Gaming Organization Bins from See Lindsay


Comments & Reviews
Judy R. says
These are great! Thank you so much
Cheryl Spangenberg says
You are very welcome, Judy!
Karen Judy says
These are brilliant! I wish something like this was available when I was still homeschooling. My kiddos are graduated but my son could have really used something like this when I was schooling him.
Alison says
Have you happened to try this with the engraving tool for the Maker? Wondering if that would work the same as the fine point blade?
Cheryl Spangenberg says
I did! The engraving tool did not dig deep enough! It was basically just scratched on there and you could not see it very well unless you held it at just the right angle! Great question!
Bobbi Kiser says
Thank you for sharing your file! My grandchildren will love these.
Cheryl Spangenberg says
I am so happy to hear that, Bobbi!
Alison says
These are wonderful, what size font do you use
Cheryl Spangenberg says
I created mine in Illustrator and used roughly a 108 size font.
Sandra says
I love the Tracing Mat. It gave me some ideas for more. Thank you for sharing this!!
Ann says
Gave you found an alternative mat since DT hasn’t had this style in awhile?
Cheryl Spangenberg says
Hi Ann, I haven’t! My dollar tree still has them! You can also order them online and have them shipped to your home or to the store and pick up! http://shrsl.com/2hr9y
Christine says
Love this idea! Although, I’m having a hard time to erase the dry erase marker, does anyone have any ideas to make it easier? I bought special cloths and more markers in hopes it’ll make it easier. Thank you!!
Cheryl Spangenberg says
Hmm, I used Expo dry-erase with no issues however I do use a magic eraser about once a week or so when my son uses the mats frequently. You could try a magic eraser?
Pauline says
Love these, I just wish the dollar store still carried the clear mats, because the color ones don’t erase as nice as the clear ones.
Cheryl Spangenberg says
They still have them! If you can’t find them in store you can order online and ship to your home or to the store for free! https://shrsl.com/4pk20