If you’re just getting started with sublimation, making your first T-shirt is one of the best projects to learn on! It’s fun, relatively inexpensive, and there’s nothing quite like peeling back that transfer paper to reveal a bright, vibrant design. Grab my free printable checklist at the end of the post!
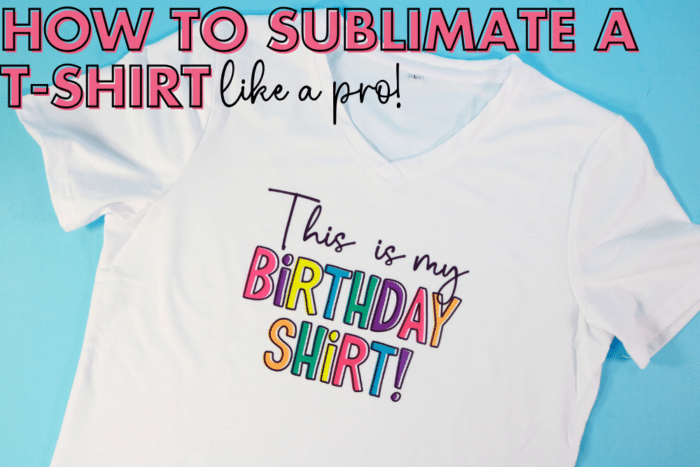
The first time I sublimated a shirt, I was nervous I’d ruin it. Was my temperature right? Did I remember to mirror my design? Would the colors actually turn out? Thankfully, sublimation is easier than it looks once you know a few simple tricks.
In this tutorial, I’ll show you exactly how I sublimate a t-shirt from start to finish, along with the little tips that help me get professional-looking results every time.
If you’re brand new to sublimation, be sure to check out my Sublimation 101 guide first. It covers the basics of how sublimation works, the supplies you’ll need, and answers many beginner questions before you dive into your first project.
What’s in this Post
- Supplies Needed
- How to Sublimate a T-Shirt
- Free Printable Checklist
- Tips for Beginners
- Troubleshooting Common Problems
- FAQ
This post may contain links to Amazon Associates and other affiliates.
As an Amazon affiliate, I earn a small commission from these links at no additional cost to you.
Supplies You’ll Need
Before you begin, gather your supplies.
- Sublimation Printer
- Sublimation Paper
- Heat Press or EasyPress or Auto Press
- Sublimation T-shirt – high poly count
- Heat Safe Gloves
- Heat Resistant Tape
- Lint Roller
- Butcher Paper
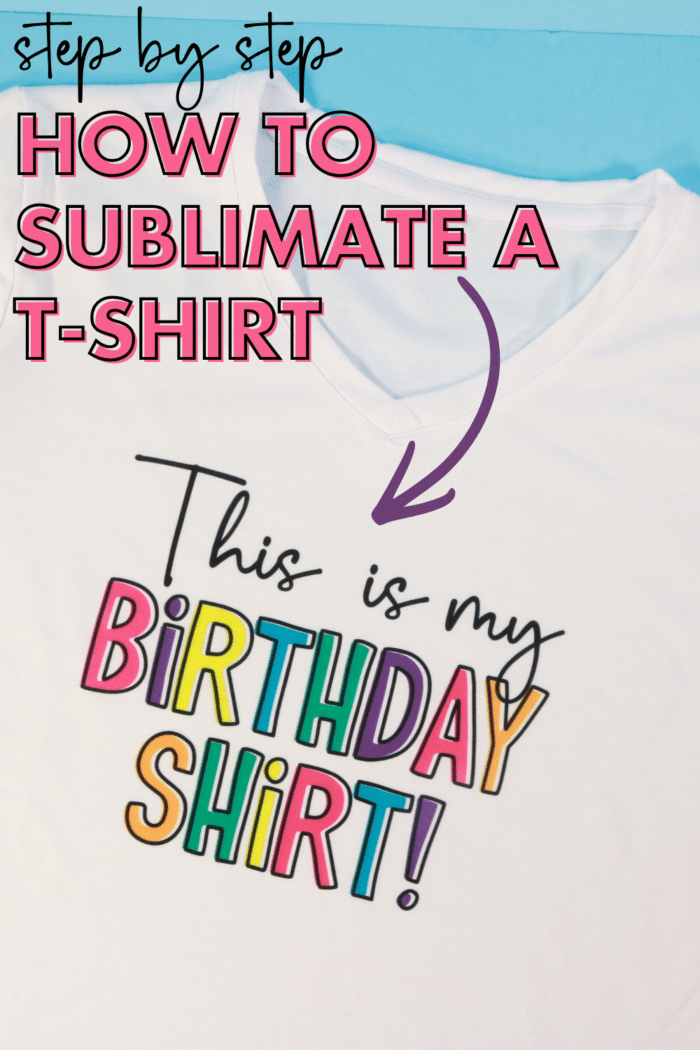
- Your sublimation design — you can find my “This is my Birthday Shirt” design here.
You can find all the supplies in one spot on my Sublimation Amazon Storefront!
Choosing the Right Shirt
One of the biggest beginner mistakes is using the wrong shirt.
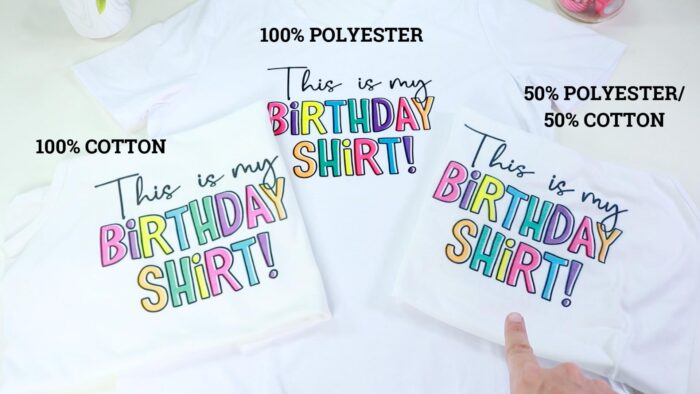
Sublimation doesn’t work on regular cotton because the ink bonds with polyester fibers—not cotton. For the brightest, most vibrant results, I always recommend using a 100% polyester white shirt.
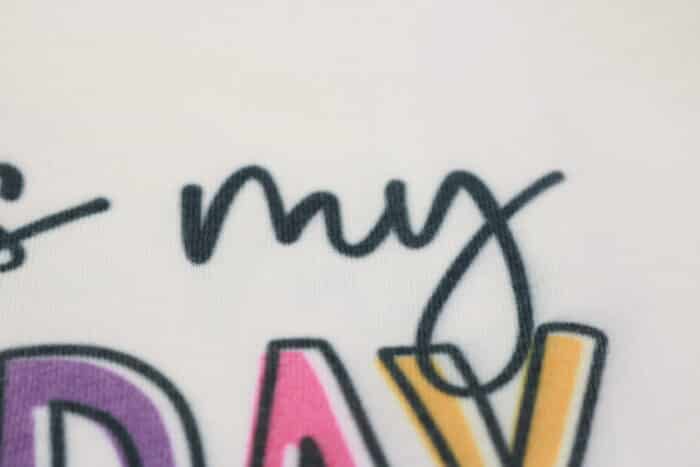
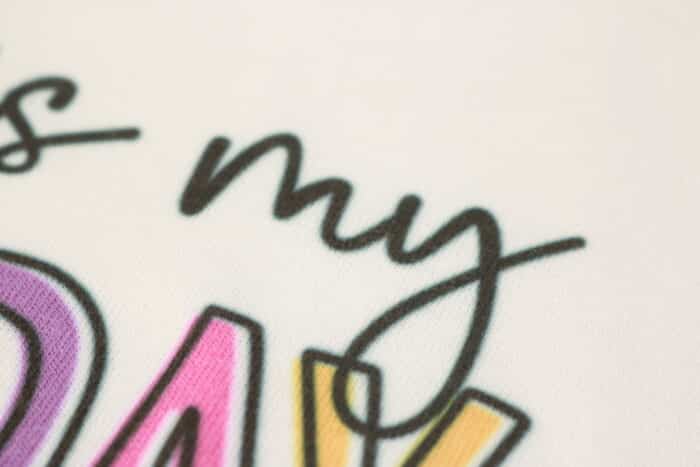
Can you sublimate on poly blends? Absolutely! Just know the more cotton in the shirt, the softer and more vintage your design will appear. Sometimes that’s exactly the look you’re going for.

How to Sublimate a T-Shirt
Step 1: Print Your Design
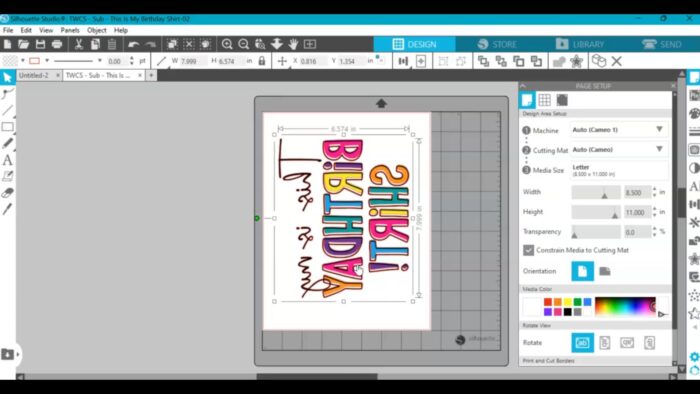
Open your design in your favorite design software and size it to fit your shirt. I like to use Silhouette Studio because the software is completely free and you can print directly to your sublimation printer from the software.
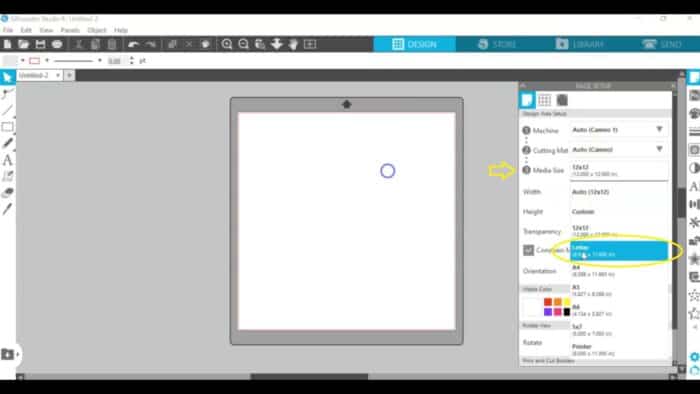
I opened Silhouette Studio, set my page to Letter size and uploaded and resized my image. You can read more about uploading SVG/PNG designs to Silhouette Studio here.
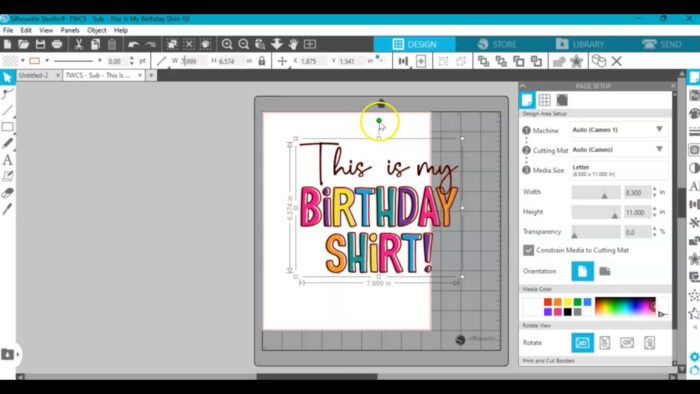
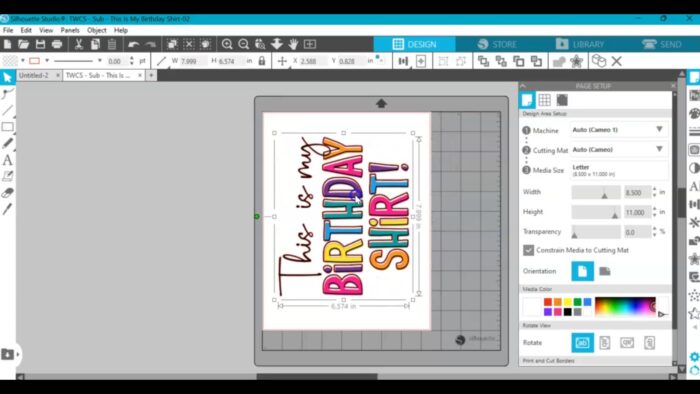
Then I rotated the image to fit my paper
Before you print…
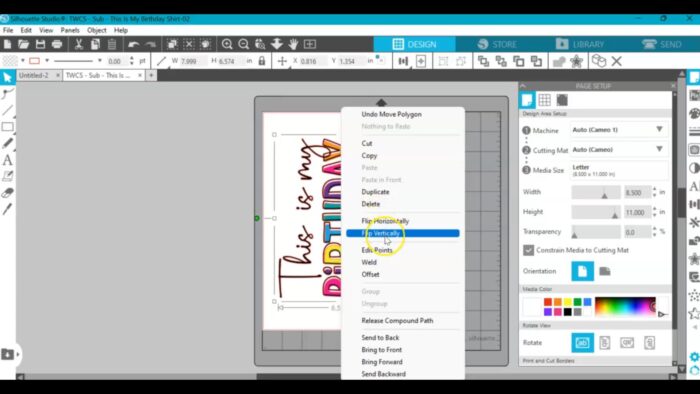
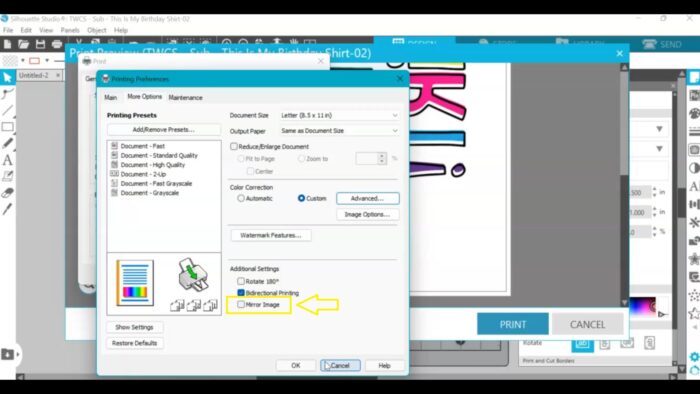
Don’t forget to mirror your image! – You can do this right on the canvas before printing like I show you in the video or you can click the mirror toggle before printing!
This is probably the most common beginner mistake. Since you’re placing the printed design face down on the shirt, everything needs to be printed backwards first.
To mirror on the canvas, simply right-click the image and select “flip vertically”
To mirror with print settings, simply click the option under advanced settings. You will also want to set the additional color parameters here.
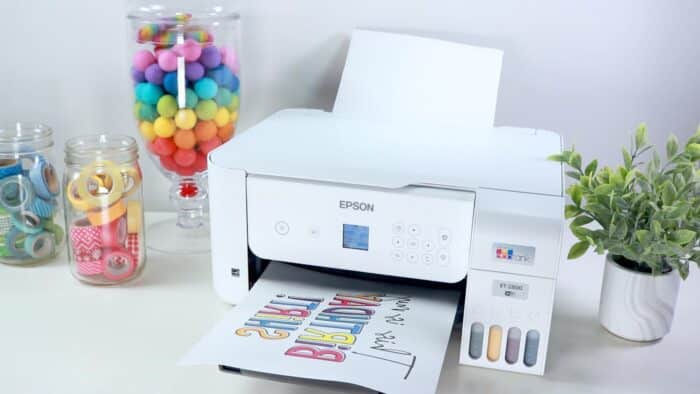
When your design comes out of the printer, don’t panic if it looks dull or faded. That’s completely normal! The colors come alive during the heat pressing process!
That’s completely normal!
The colors come alive during the heat pressing process.
Step 2: Prep Your Shirt
Lay your shirt flat on your heat press mat.
Use a lint roller over the entire pressing area. This is a step that’s easy to skip—but don’t!
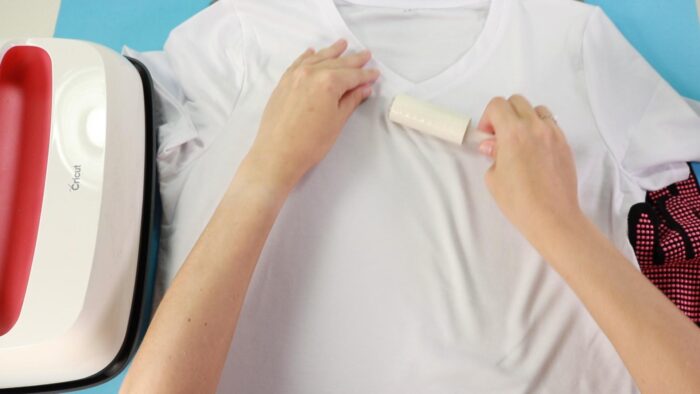
Tiny lint fibers, pet hair, or even dust can permanently dye during sublimation, leaving little blue specks on your finished shirt.
Next, pre-press your shirt for about 5–10 seconds.
This does two important things:
- removes moisture
- smooths out wrinkles
Moisture trapped inside the fabric can cause faded spots in your transfer, so this quick step is well worth the extra few seconds.
Step 3: Position Your Design
Place a sheet of butcher paper or cardstock inside the shirt. This prevents any excess ink from transferring to the back of the shirt.
Now center your printed design face down on the fabric.
Once you’re happy with the placement, secure it with heat-resistant tape.
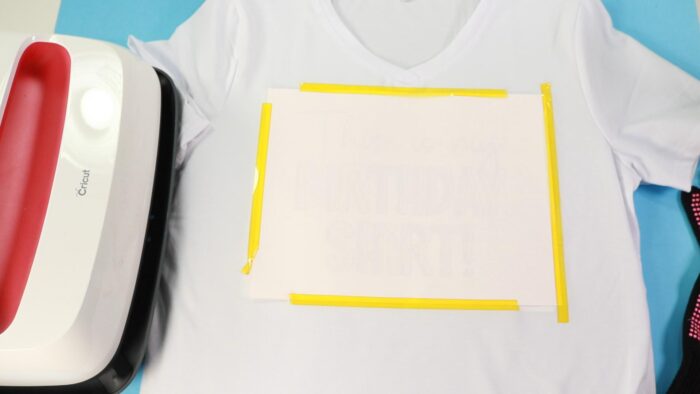
The tape keeps everything from shifting while pressing—which is important because even the slightest movement can create blurry “ghosting” around your design.
Step 4: Press Your Shirt
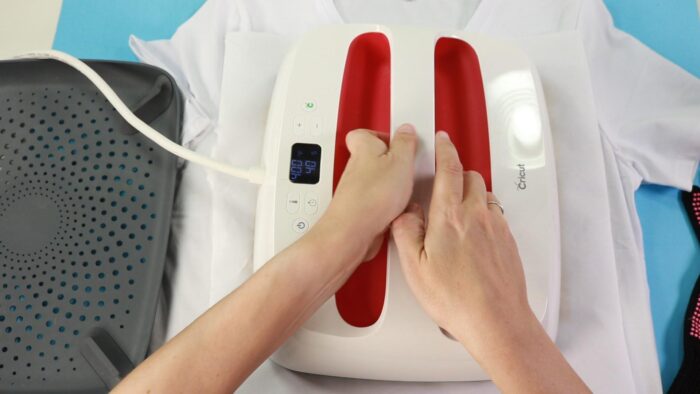
Cover the design with another piece of butcher paper.
I used my 9×12 EasyPress 2 and pressed at:
- Temperature: 400°F
- Time: 40 seconds
- Pressure: Medium
Always double-check the recommendations from your shirt manufacturer since different fabrics can vary slightly.
Step 5: Reveal Your Design
This is the fun part!
Carefully lift away the butcher paper and peel off the sublimation transfer.
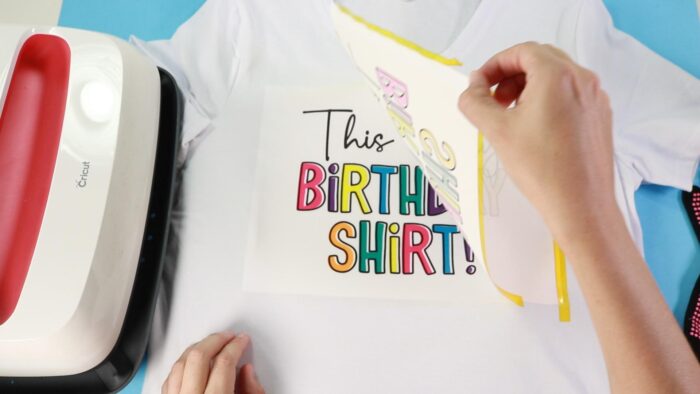
Your design should be bright, vibrant, and permanently infused into the fabric.
(The rectangle is the cardstock that is underneath the shirt layer!)
Unlike heat transfer vinyl, you won’t feel anything sitting on top of the shirt. The ink actually becomes part of the fibers, leaving the fabric just as soft as it was before.

Get my FREE Printable Sublimation T-Shirt Checklist Here
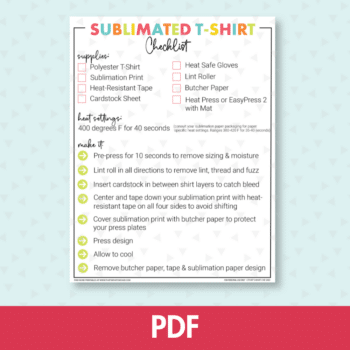
Getting the freebie is easy! First, enter your email below to join my email community (AND gain access to my freebie library)!! After that, check your email for the files!
I use box.com to deliver my freebies safely!
There is no need to sign up for a box.com account!
Please see this FAQ post + Video on how to download my freebies.
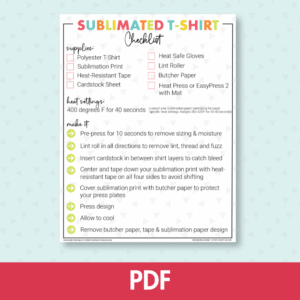
This download is for personal use only!
My Favorite Tips for Better Sublimation Shirts
After making lots of sublimation projects, these are the habits that make the biggest difference.
Always use a lint roller.
Even if the shirt looks perfectly clean.
Use butcher paper.
One sheet inside the shirt and one on top helps protect both your shirt and your heat press.
Tape every transfer.
Ghosting is heartbreaking because there’s no fixing it once it happens.
Don’t skip the pre-press.
Five seconds now can save an entire shirt later.
Start with 100% polyester.
It’s much easier to learn sublimation when you’re getting bright, predictable results.
Troubleshooting Common Problems
My colors look faded.
Usually this means:
- the shirt doesn’t contain enough polyester
- the press temperature was too low
- the pressing time wasn’t long enough
- double-check the printer color settings
I have blue specks.
That’s almost always lint.
Use a lint roller before every press.
My image has a blurry shadow.
Your transfer shifted during pressing.
Use heat tape and avoid moving the paper while it’s still hot.
Frequently Asked Questions
Can you sublimate on cotton?
Not directly. Sublimation ink bonds with polyester fibers, so you’ll need a high-polyester shirt or a special sublimation coating or transfer method if you want to decorate cotton.
What color shirt works best?
White gives the brightest results because sublimation ink is transparent. Light-colored polyester shirts also work well, but dark shirts won’t show the colors properly.
Does sublimation crack or peel?
No!
Since the ink becomes part of the fabric, there isn’t anything sitting on top to crack, peel, or flake off. That’s one of the biggest reasons sublimation is such a popular method for making custom apparel.
Final Thoughts
Sublimating a t-shirt might seem intimidating at first, but after you’ve made one or two shirts, you’ll wonder why you waited so long to try it.
The biggest keys to success are using a quality polyester shirt, preparing your blank properly, and taking your time with placement before pressing.
Once you’ve mastered t-shirts, you’ll be ready to move on to mugs, tote bags, tumblers, ornaments, and all kinds of other fun sublimation projects.
Have questions about sublimation? Leave them in the comments below! I’d love to help you troubleshoot your first project or hear what you’re making next.









Leave A Reply!