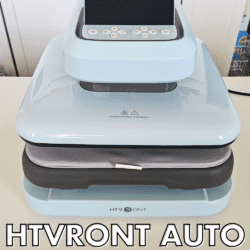
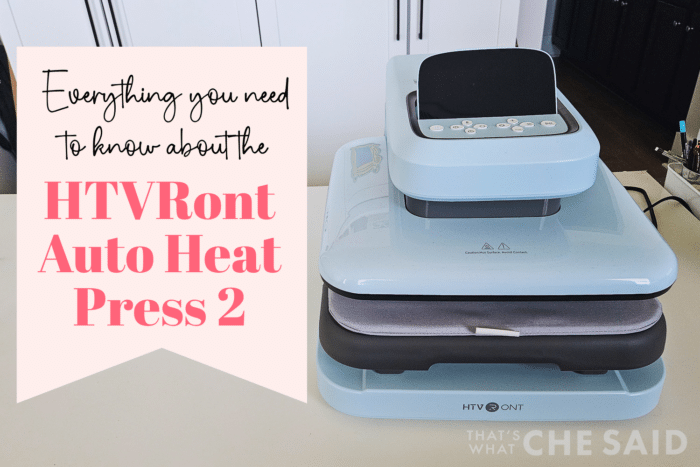
If you’ve ever found yourself juggling pressure, time, and temperature while using a heat press, you know that achieving consistent results can sometimes feel like the hardest part of crafting. That’s exactly why I was excited to get my hands on the HTVRONT Auto Heat Press 2.
This post may contain links to Amazon Associates and other affiliates.
As an Amazon affiliate, I earn a small commission from these links at no additional cost to you.
This Auto Heat Press 2 was provided to me by HTVRONT. All thoughts and opinions are my own.
After making several projects, I can honestly say it takes much of the guesswork out of heat pressing. Whether you’re just getting started with heat-transfer vinyl (HTV) or looking to upgrade from a manual press, this machine offers a lot to love.
Today I’m sharing everything from what’s included in the box to my first projects and my overall thoughts after using the HTVRONT Auto Heat Press 2.
What’s In this Post?
Video Review of HTVRONT Auto Heat Press 2
What’s in the Box?
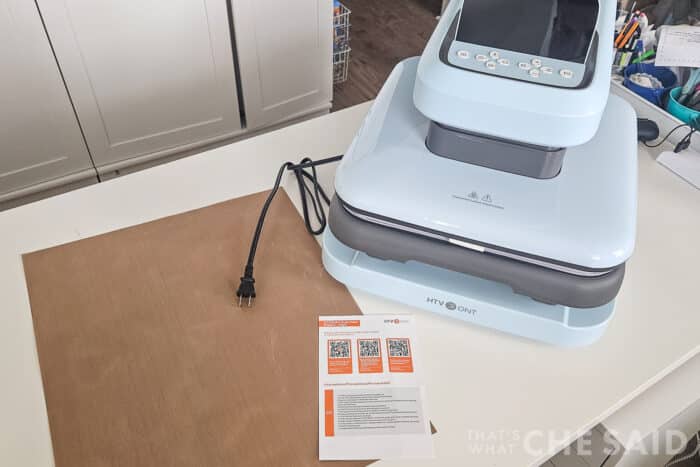
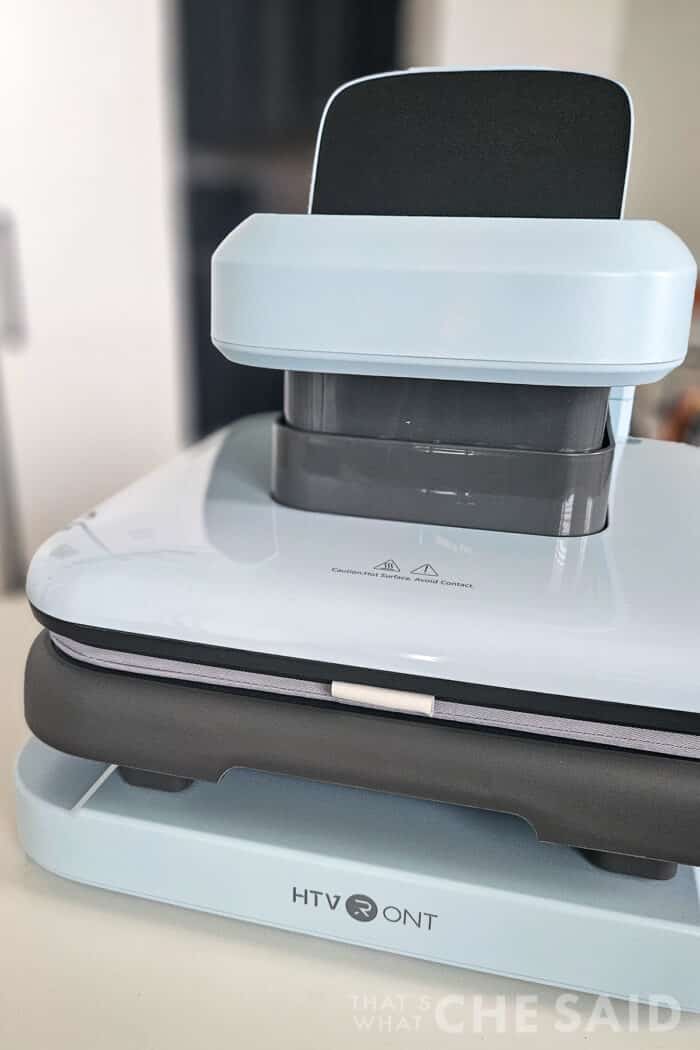
One of my favorite things about the HTVRONT Auto Heat Press 2 is that it arrives well-packaged and almost ready to use. Everything is already attached and ready to go, making setup feel simple instead of overwhelming. I removed one piece of packing tape and the screen protector for the LED display; that was all I had to do! Everything was ready to go all I needed to do was plug it in!
Inside the box you’ll find:
- HTVRONT Auto Heat Press 2 with attached power cord.
- Teflon Protective Sheet
- Instruction QR codes
The machine itself feels sturdy and well-built right out of the box. Even before plugging it in, it’s clear this is designed to be a long-term addition to your craft room rather than something lightweight or flimsy.
Initial Setup
Getting started couldn’t have been much easier.
After placing the press on a sturdy, heat-safe work surface, setup was as simple as plugging it in and powering it on. The controls are intuitive, and the included instructions walk you through everything you need to know.
Be sure to place on a sturdy, heat-safe surface, and leave enough clearance around the machine.
One thing I appreciated immediately was how quickly the machine heats up. There’s very little waiting around before you’re ready to begin creating.
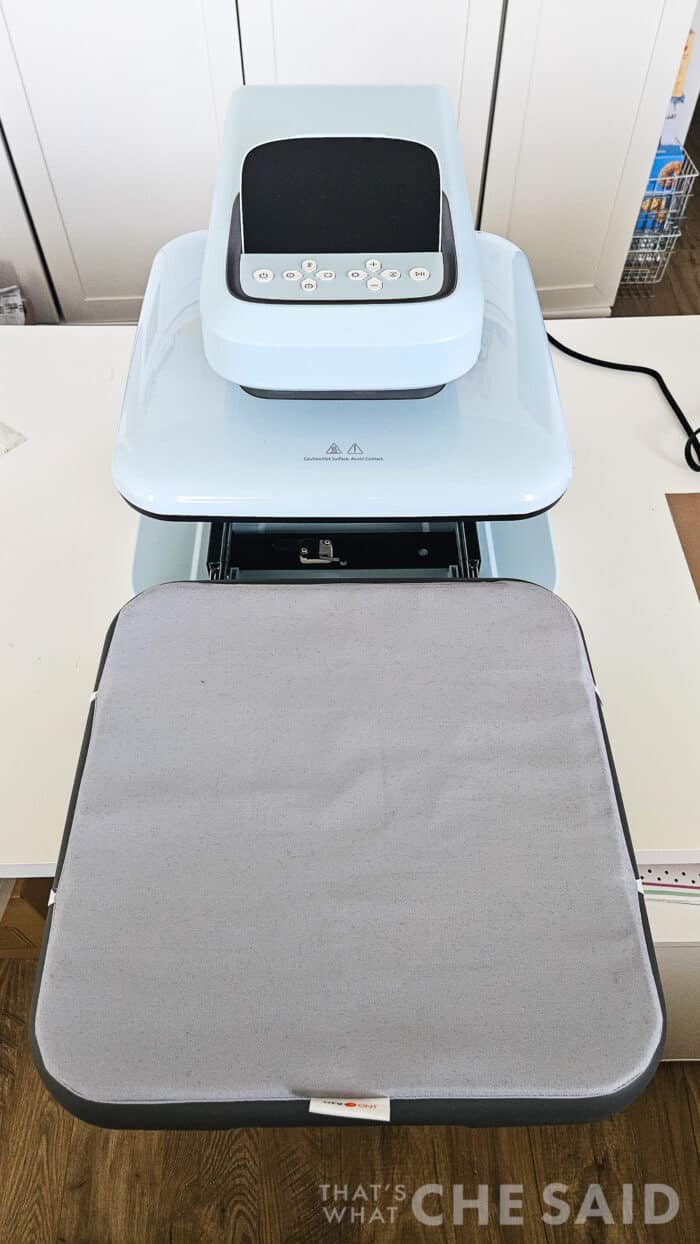
There is plenty of room between the slide out try and the heat plate but always use caution! The heat pad comes already attached to the try with some elastic loops.
Getting Comfortable with the Controls
If you’ve only used a traditional heat press before, the Auto Heat Press 2 feels refreshingly simple.
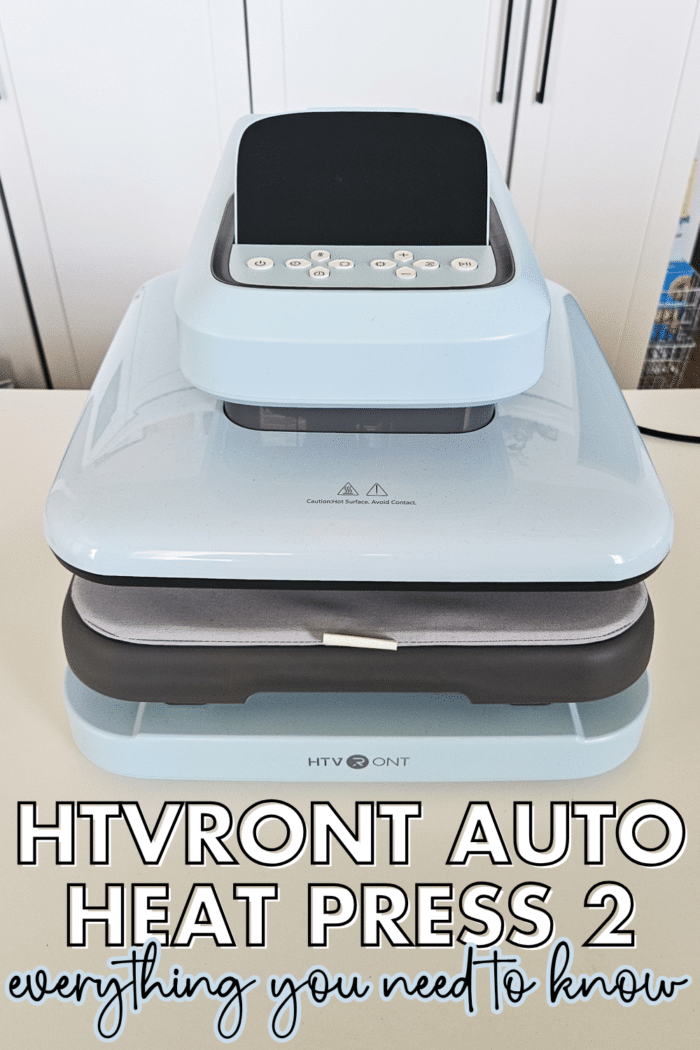
The digital display is height-adjustable, bright and easy to read. Let’s go over the buttons and what they do!
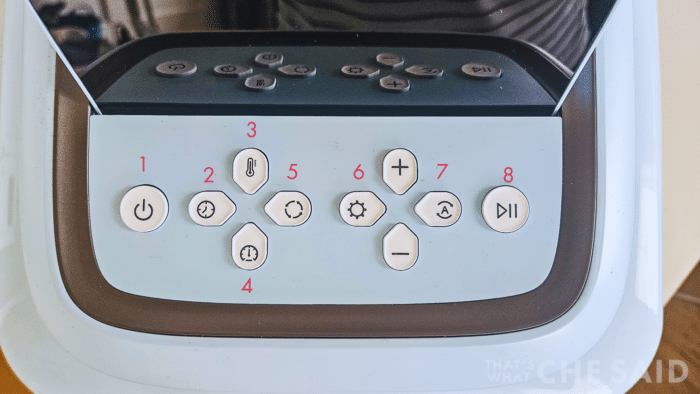
- Power Button – turns the press on and off.
- Time Button – press and then use the + and – buttons to increase or decrease the time.
- Temperature Button – press and then use the + and – buttons to increase or decrease the temperature.
- Pressure Button – press and then use the + and – buttons to increase or decrease the pressure.
- Mode Button – press this button to switch between 4 preset modes (see chart below). Press for 2s to exit.
- Custom Button – press and then select a mode, then adjust the temperature, time, and/or pressure with the + and – buttons, and then Press Custom again for 2s to exit.
- Auto Button – puts the press into Auto mode, which means it will begin to press once the tray is slid into place and will release automatically when the set time is complete.
- Start Button – starts and stops the press when Auto mode is turned off. (Manual Mode).
MODE SETTINGS
There are 4 mode settings that cannot be adjusted; the settings are as follows:
| Mode | Ironing Parameters | Recommended Materials |
|---|---|---|
| 1 | 290°F (145°C)/ 15s/170lb (80kg) | Heat Transfer Vinyl, Chemeleon HTV |
| 2 | 300°F (150°C)/ 15s/170lb (80kg) | Glitter or Holographic Heat Transfer Vinyl, DTF Transfer Film |
| 3 | 320°F (160°C)/ 20s/170lb (80kg) | Printable Heat Transfer Vinyl, Heat Transfer Paper |
| 4 | 390°F (200°C)/ 40s/170lb (80kg) | Sublimation Paper |
CUSTOM SETTINGS
The 4 Custom Settings allow you to adjust and save a custom temperature, time and pressure specific to your needs. Between the MODE and CUSTOM options there are 8 available saved settings.
That means less trial and error and more consistent results.
After only a couple of projects, the controls felt very natural, making it easy to move from one design to the next.
Using the HTVRONT Auto Heat Press 2
One of the biggest advantages of this machine is that it automatically applies pressure for you. Instead of manually pulling down a heavy handle and hoping you’ve applied enough pressure, or needing to physically push down an EasyPress, the Auto Heat Press 2 does the work for you.
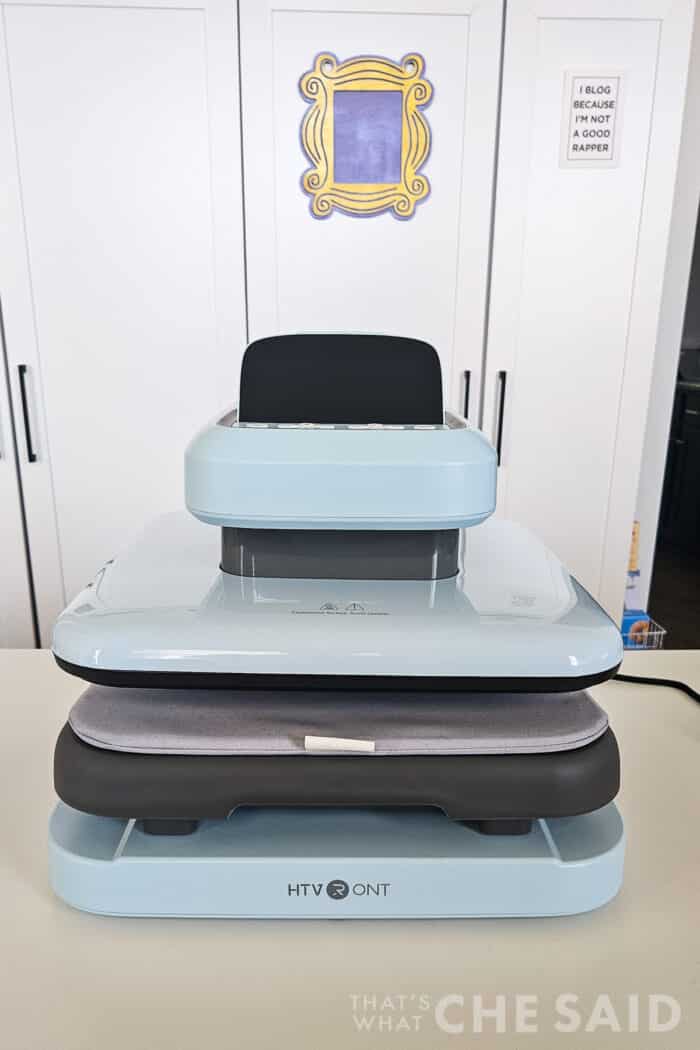
My first projects with the Auto Heat Press 2 included a more bulky sweatshirt, a thinner tank top, a canvas zippered pouch and a sublimation cork coaster.
I will be testing glitter iron-on, a DTF transfer, a chenille patch and a sublimation print on those blanks I listed above. I wanted to be sure to test on a wide variety of blanks with mediums!

Using the press was incredibly straightforward.
How to Press a Sweatshirt:
For this sweatshirt, I used a black 50/50 cotton/poly blend black sweatshirt with a black glitter heat transfer medium. You can find the design I used here. I used 300F, 140lbs, and 20 seconds.
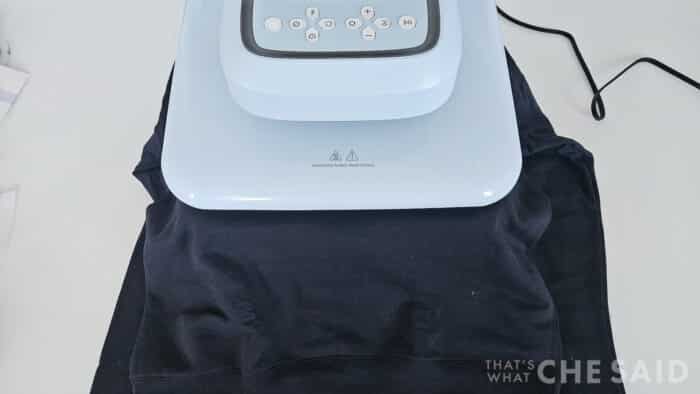
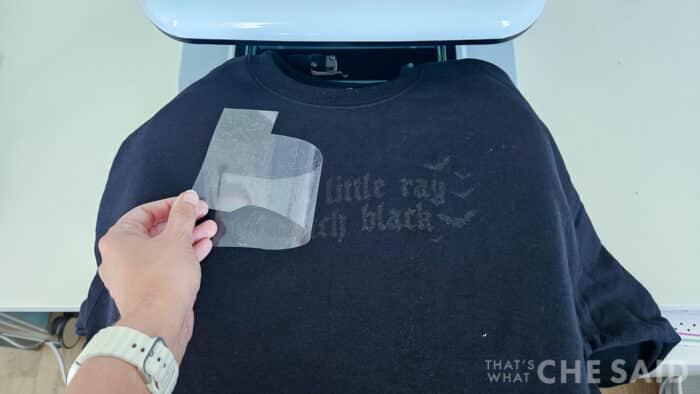
- Set your temperature, time, and pressure.
- Position the sweatshirt and pre-press for 10 seconds
- Position the design.
- Push in the tray and start the press.
- Let the machine automatically complete the pressing cycle.
- Pull out the tray and carefully remove your finished project.
Because the machine controls the pressure automatically, I found myself focusing much more on design placement than worrying about whether I was pressing hard enough.
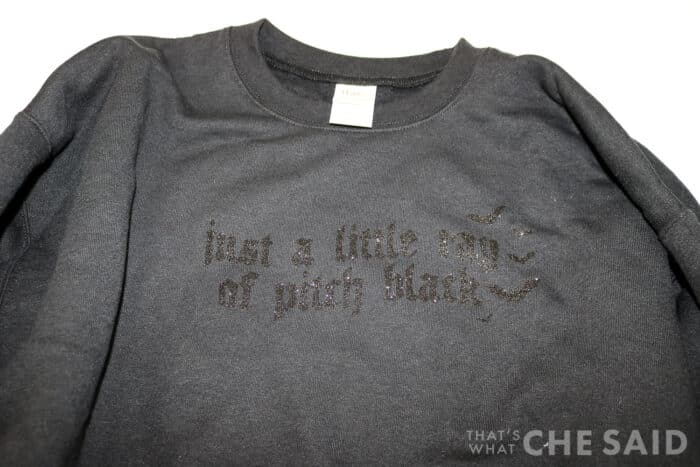
The finished sweatshirt had even adhesion and clean results across the entire design.
For anyone making multiple shirts, this consistency can save both time and materials.
How to Press a T-Shirt or Tank:
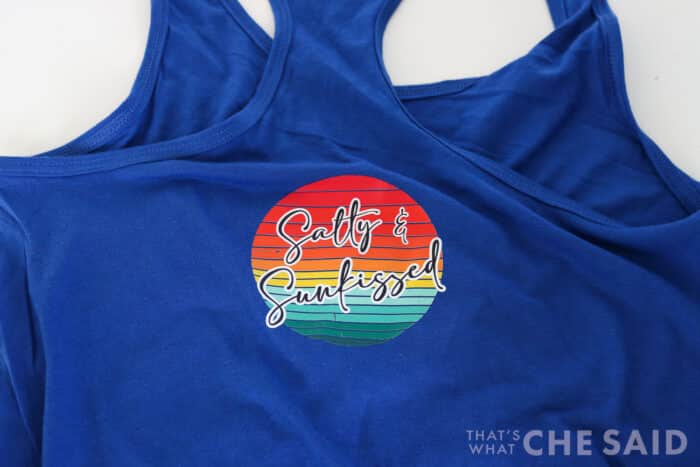
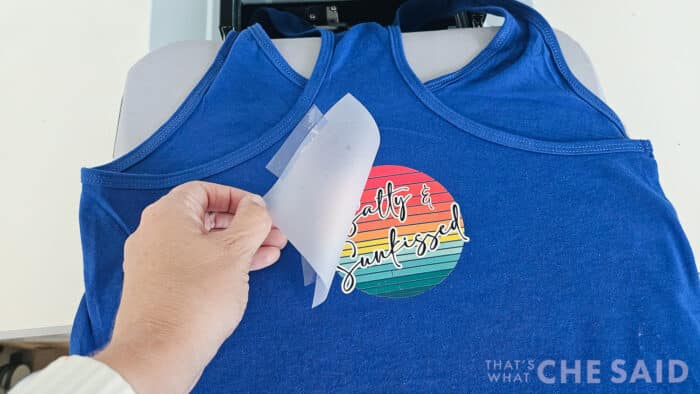
For this sweatshirt, I used a royal blue 60/40 cotton/poly blend tank top with a DTF transfer sheet. You can find the design I used here. My settings were as follows: 325F, 170lbs, and 15 seconds.
- Set your temperature, time, and pressure.
- Position the shirt or tank and pre-press for 10 seconds
- Position the design.
- Push in the tray and start the press.
- Let the machine automatically complete the pressing cycle.
- Pull out the tray and carefully remove your finished project.
How to Press a Canvas Pouch:
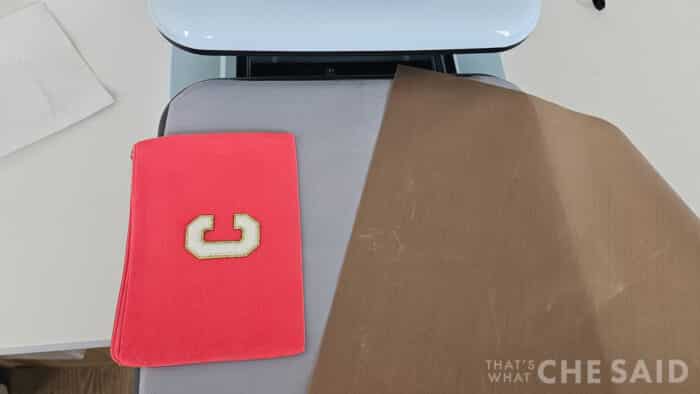
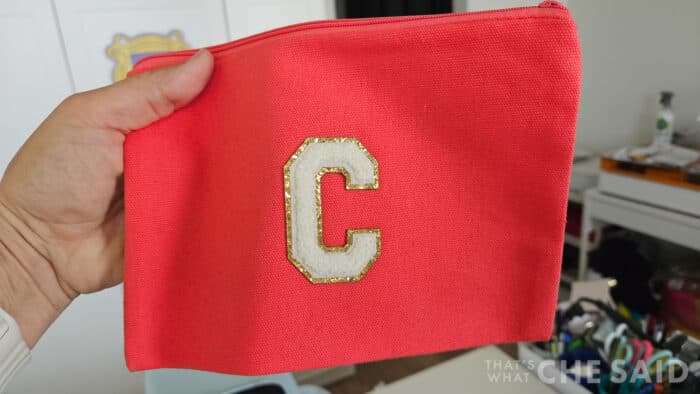
For this project, I used a pink, zippered canvas pouch with a chenille iron-on patch with the teflon protective sheet. You can find the patch I used here. My settings were as follows: 320F, 150lbs, and 20seconds.
- Set your temperature, time, and pressure.
- Place the pouch on the tray with the zippered portion hanging off the tray. This will prevent both damage to zipper and allow the press to press more evenly on the pouch.
- Position your patch.
- Cover with the teflon protective sheet.
- Push in the tray and start the press.
- Let the machine automatically complete the pressing cycle.
- Pull out the tray and carefully remove your finished project.
How to Press a Sublimation Coaster:
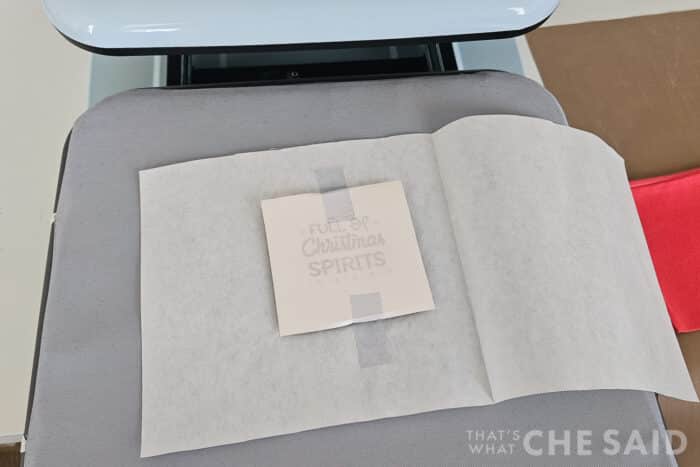
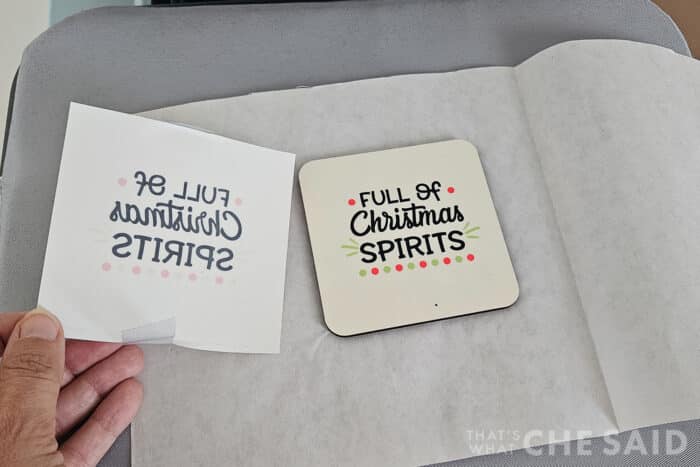
For this project, I used a square cork sublimation coaster, along with a sublimation print that I printed on my converted sublimation printer. You will also need a lint roller, some butcher paper, and heat-resistant tape for this project. You can find the design I used here. My settings were as follows: 400F, 70lbs, and 60 seconds.
- Set your temperature, time, and pressure.
- Use the lint roller to remove any dust or debris from the surface of the coaster.
- Apply your sublimation design face down and use heat resistant tape to secure the print to the coaster.
- Sandwich the coaster between butcher paper and place on the press tray.
- Push in the tray and start the press.
- Let the machine automatically complete the pressing cycle.
- Pull out the tray and carefully remove your finished project. Allow to cool completely before touching or use heat safe gloves to handle.
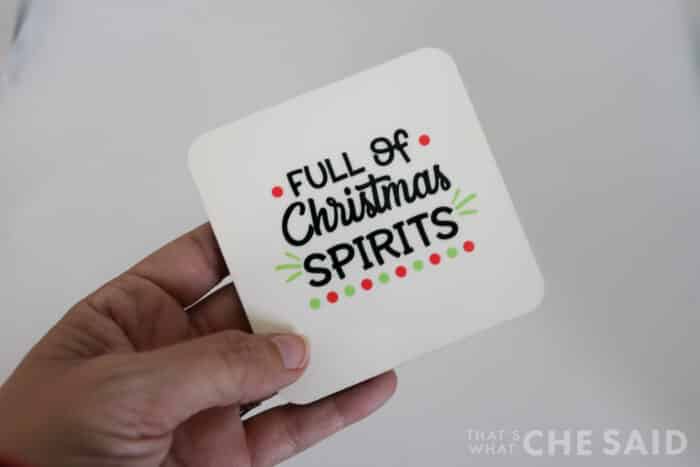
You can learn more about sublimation here.
More Projects You Can Make
HTVRONT Auto Heat Press 2 is versatile enough for much more.
You can create:
- T-shirts
- Sweatshirts
- Hoodies
- Tote bags
- Baby bodysuits
- Canvas bags
- Aprons
- Pillow covers
- Fabric gift items
- Many other flat fabric blanks
It’s compatible with common heat transfer materials including:
- Heat Transfer Vinyl (HTV)
- Iron-on materials
- DTF transfers
- Sublimation projects (when used with appropriate sublimation blanks)
Whether you’re making personalized gifts, creating products for a small business, or simply crafting for your family, this machine can handle a wide variety of projects.
Use code Cheryl10 to receive $52 OFF the HTVRONT Auto Heat Press 2 here
What I Liked Most
After using the HTVRONT Auto Heat Press 2, several features really stood out.
Automatic Pressure
This is easily my favorite feature. Removing the guesswork from applying pressure makes the entire process less stressful and produces more consistent results.
Automatic Release
Automatically lifting the heat plate when the timer has expired is one of the best ways to guarantee you are not wasting materials with ruined projects. It is perfect for any crafter whose brain runs a mile a minute!
Easy-to-Use Controls
Everything is clearly labeled and simple to understand, making it approachable even if you’re new to heat pressing.
Consistent Results
My apparel projects came out evenly pressed with excellent adhesion, which is exactly what you want from an automatic heat press.
Fast Workflow
The quick heat-up time and automated pressing cycle make it easy to complete multiple projects efficiently.
Is the HTVRONT Auto Heat Press 2 Worth It?
Overall, I was impressed with the HTVRONT Auto Heat Press 2.
It performed well throughout my testing and made completing my projects significantly easier than using a traditional manual press. The automatic pressure feature removes one of the biggest challenges for new and experienced crafters alike, while the straightforward controls help you feel comfortable using the machine almost immediately.
The Auto release ensures that your projects gets pressed for the perfect amount of time and not more. This helps save materials because you are getting it right the first time!
If you enjoy creating custom apparel or are ready to invest in a heat press that prioritizes convenience and consistency, the HTVRONT Auto Heat Press 2 is definitely worth considering.
For anyone who enjoys making personalized gifts, selling handmade items, or simply wants professional-looking results at home, this machine is an excellent addition to a crafting workspace.
Where Can I Buy a HTVRONTAuto Heat Press 2?
You can purchase a HTVRONT Auto Heat Press 2 from the HTVRONT website!
HTVRONT is focused on making crafting easier, especially through beginner-friendly and automated heat press solutions. You can find all of their heat press offerings and more here!
Use code Cheryl10 to receive $52 OFF the HTVRONT Auto Heat Press 2 here









Leave A Reply!