
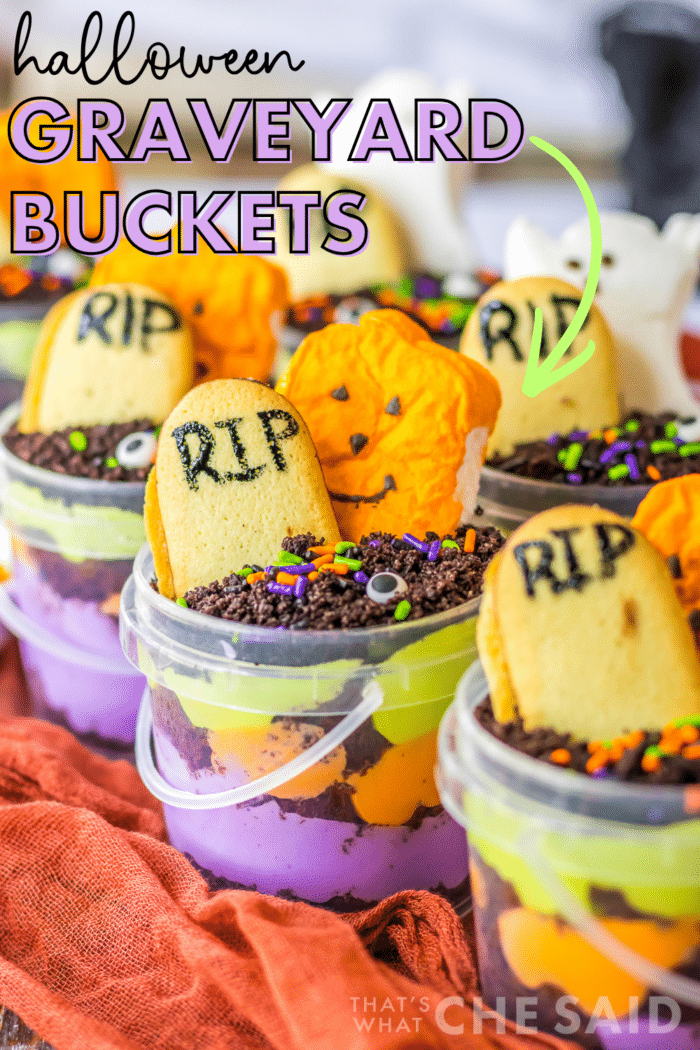
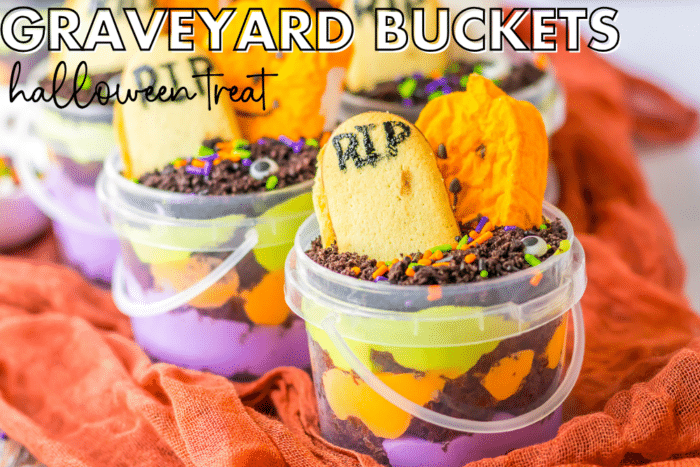
These Halloween Graveyard Buckets are a fun and spooky Halloween dessert made with layers of devil’s food cake, colorful pudding, crushed Oreos, and cookie gravestones. They’re easy to make, kid-friendly, and perfect for a Halloween party!
These Halloween Graveyard Buckets are the kind of Halloween treat that looks like you spent way more time making it than you actually did. 👻
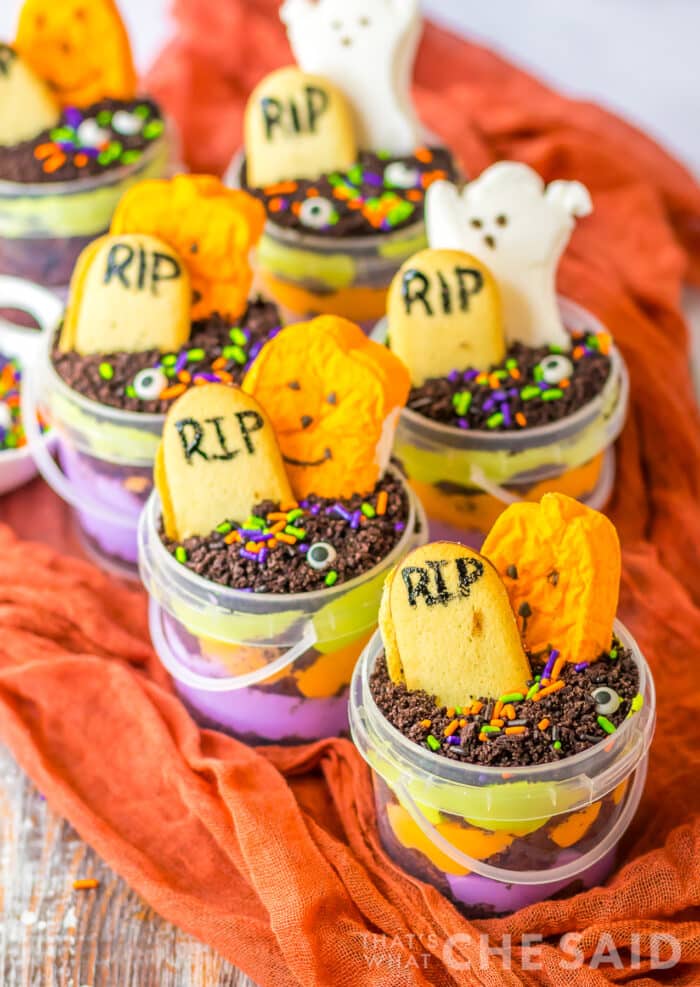
Halloween Graveyard Buckets
Click the button above to save to your board for later!
You get layers of rich devil’s food cake, brightly colored pudding, and crushed chocolate cookies that look just like spooky graveyard dirt. Add a Milano cookie gravestone, a few Halloween sprinkles, and maybe a gummy worm or two, and you’ve got the cutest little Halloween dessert cups!
And the best part? Kids can absolutely help make these. There’s plenty of layering, sprinkling, decorating, and cookie gravestone painting involved. Basically, the messier the better!
Why You’ll Love These Halloween Treat Cups
I love a Halloween dessert that doesn’t require a ton of fancy decorating skills, and these little graveyard cups definitely fit the bill.
The “graveyard” is made with simple ingredients:
- Devil’s food cake for the base
- White chocolate pudding for the colorful layers
- Crushed Oreo cookies for the dirt
- Milano cookies for the gravestones
- Halloween candy and sprinkles for decorating
The pudding layers are colored neon green, orange, and purple, which makes these especially fun for Halloween. You could absolutely change up the colors if you have a particular Halloween color scheme you’re working with, too.
And since everything goes into individual clear cups, they are easy to serve at a Halloween party, classroom celebration, or spooky family movie night.
Don’t Miss Out!
Get all my delicious email recipes straight to your inbox!
Ingredients For Graveyard Buckets
Here’s what you’ll need to make these Halloween Graveyard Buckets. You can find the plastic buckets here.
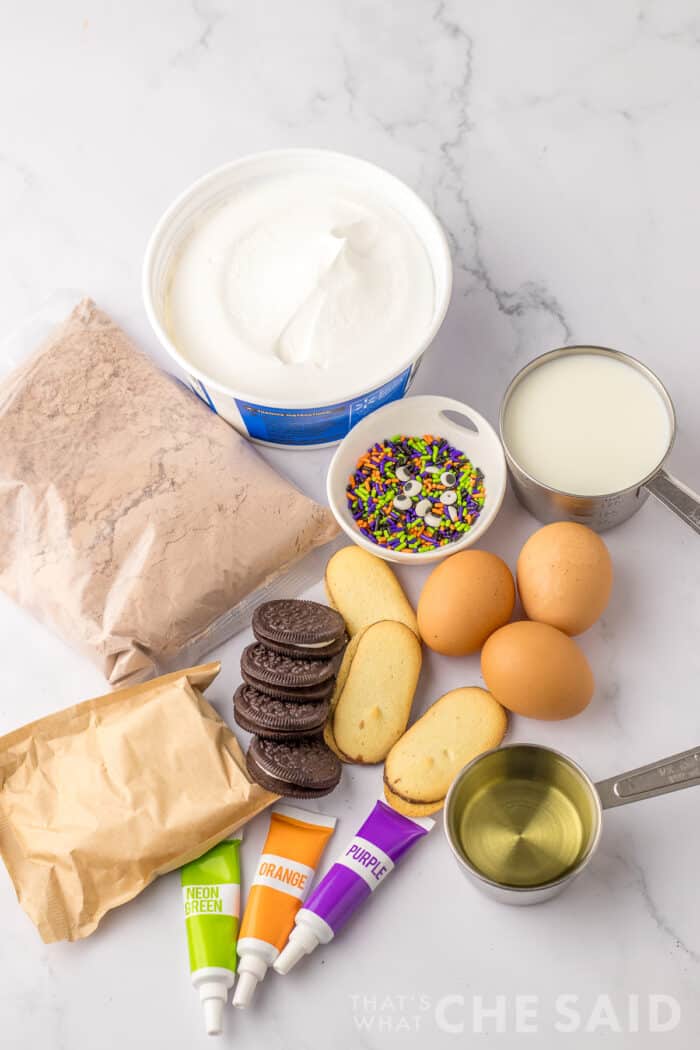
For the Cake
- 1 (15.25-ounce) box devil’s food cake mix
- Water, oil, and eggs called for on the cake mix box
For the Pudding Layers
- 2 (3.4-ounce) boxes white chocolate instant pudding
- 4 cups cold milk
- 8 ounces whipped topping
- Neon green food coloring
- Orange food coloring
- Purple food coloring
For the Graveyard
- 1 ½ cups crushed Oreo cookies
- Milano cookies
- Halloween candy and sprinkles for decorating
- 10 (8-ounce) clear buckets
I used clear buckets so you can see all of those colorful layers. Plus, they make the finished desserts look extra fun!
How to Make Halloween Graveyard Buckets
1. Bake the Cake
Start by preheating your oven to 350°F.
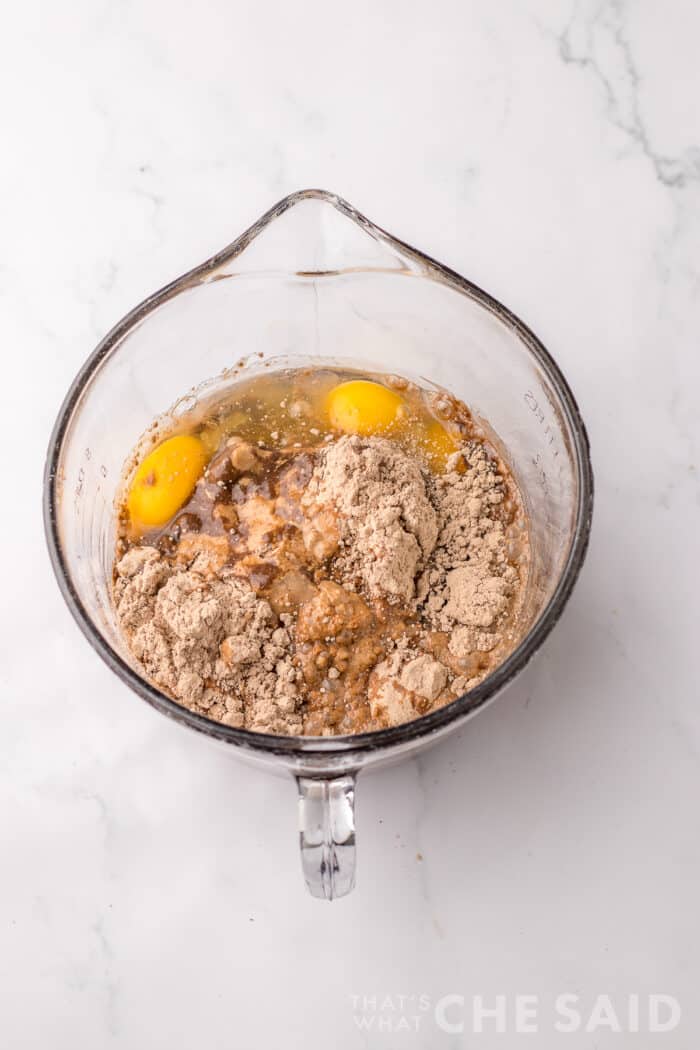
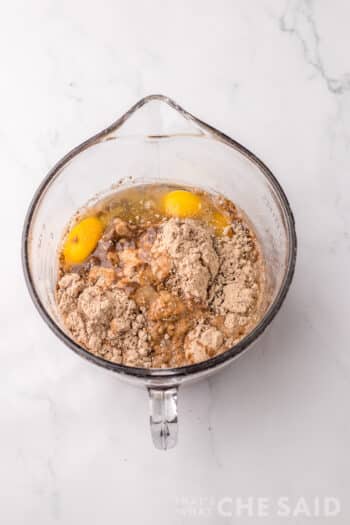
Prepare the devil’s food cake mix according to the directions on the box using the water, oil, and eggs called for.
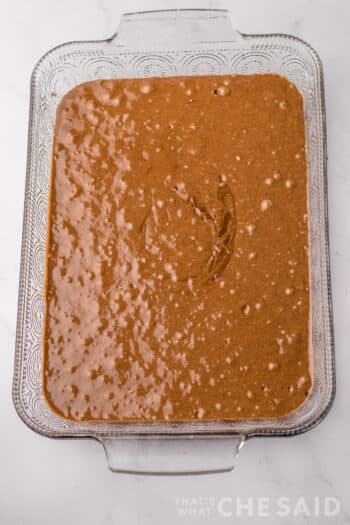
Pour the batter into a prepared 9×13-inch baking dish and bake for about 30–35 minutes, or until a toothpick inserted into the center comes out clean.
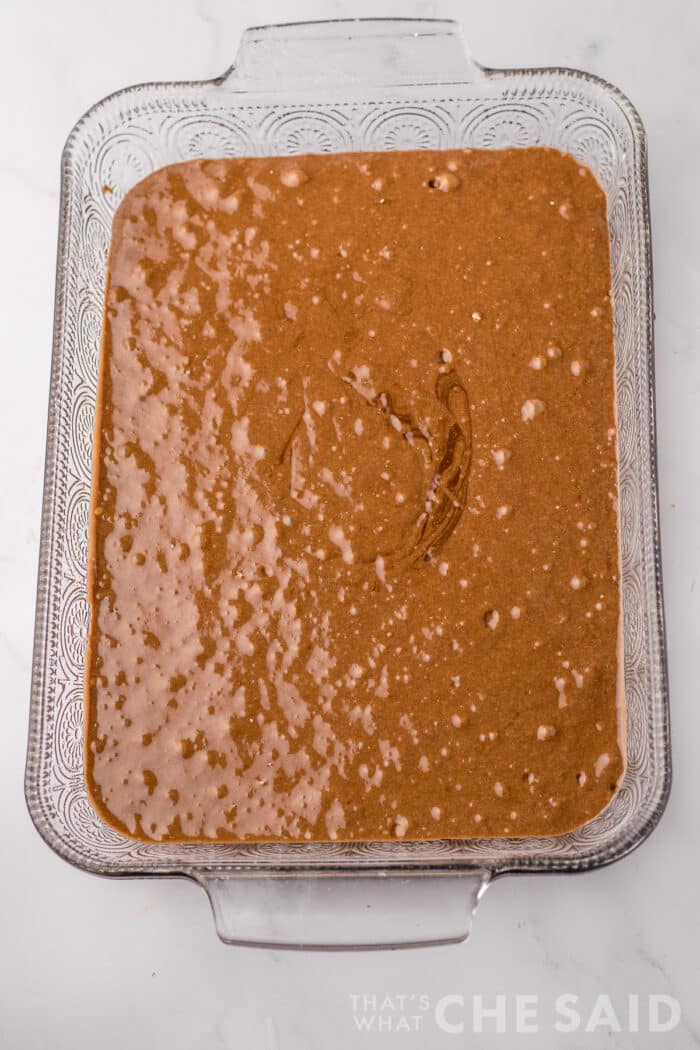
Let the cake cool.
Once it’s cool enough to handle, slice it into bite-sized pieces.
It doesn’t have to be pretty! It’s going into the bottom of the dessert cups, so this is one of those recipes where perfectly even cake cubes are definitely not necessary.
2. Make the Pudding
While the cake is cooling, prepare the pudding.
Combine the two boxes of white chocolate instant pudding with the cold milk and whisk until combined.
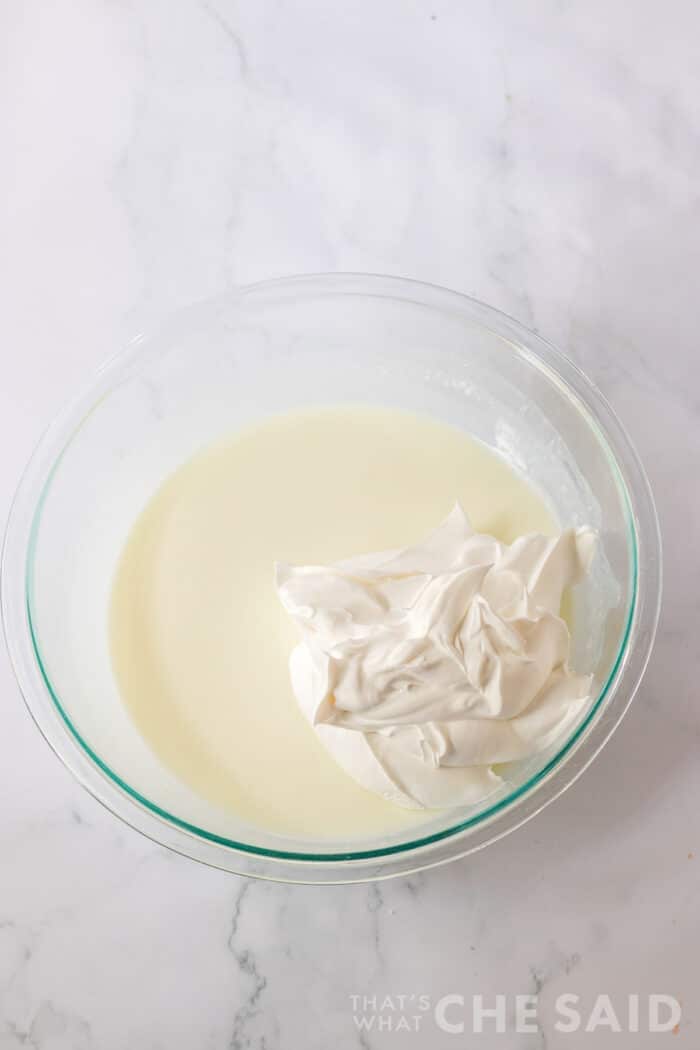
Fold in the whipped topping.
Now comes the fun part!
Divide the pudding mixture between three bowls.
Color one bowl neon green, one orange, and one purple.
These colors are what really give the cups that fun Halloween look. Don’t worry about making the colors perfectly even—the little variations make each cup look unique.
3. Start Layering
Grab your clear 8-ounce buckets and add a little bit of cake to the bottom of each one.
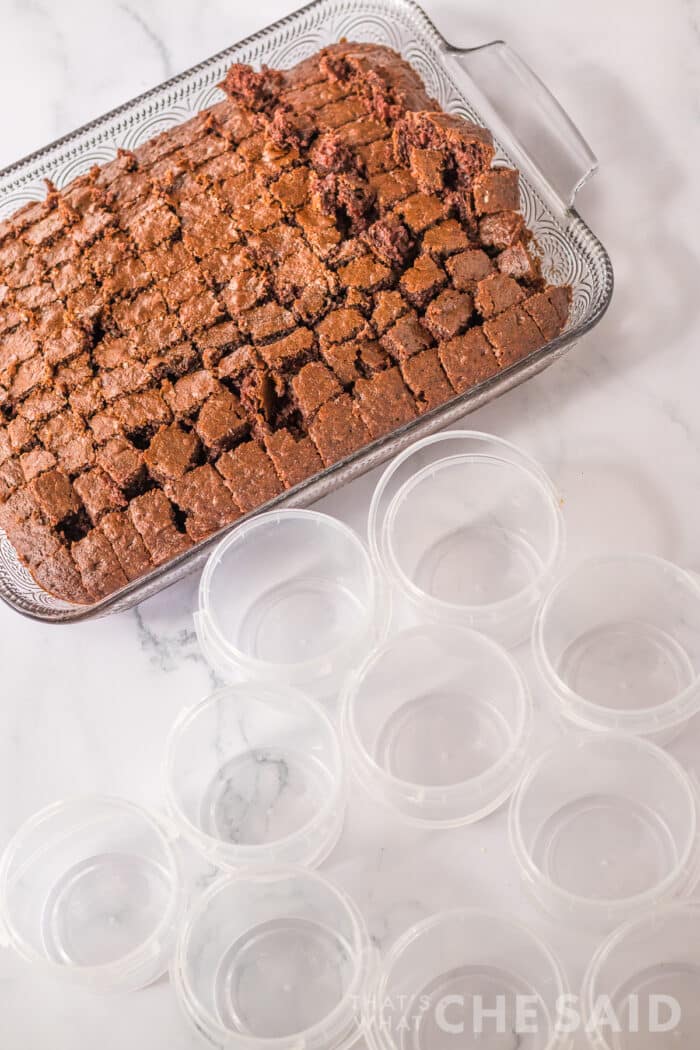
Next, add a layer of one of the colored puddings.
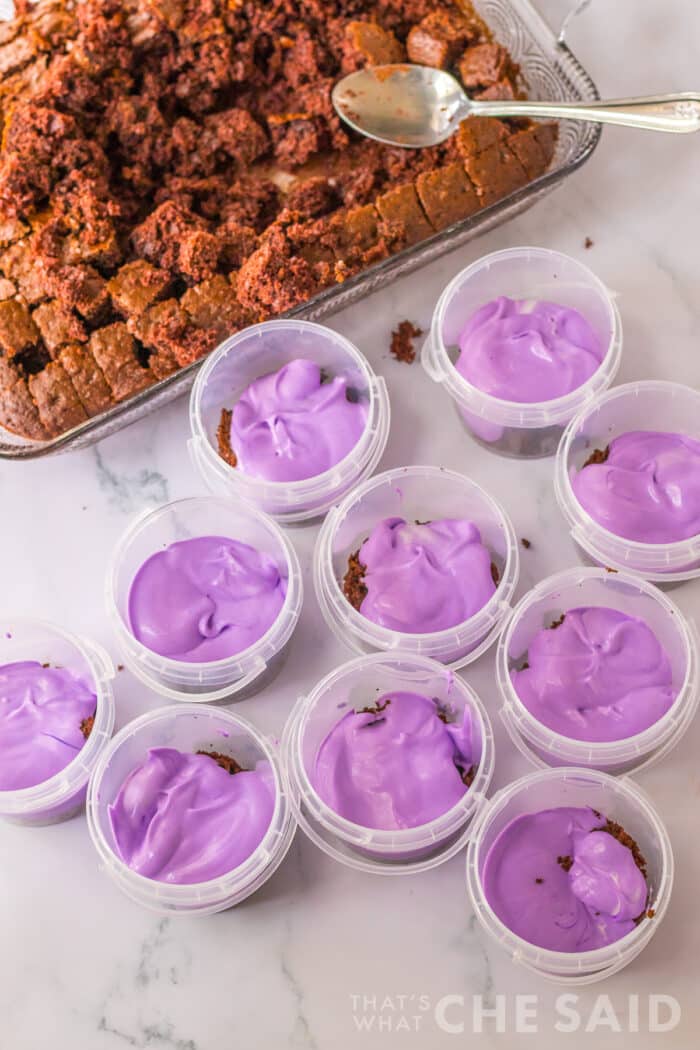
Continue layering the cake and pudding, making sure you end up with three layers of pudding, with each layer a different color.
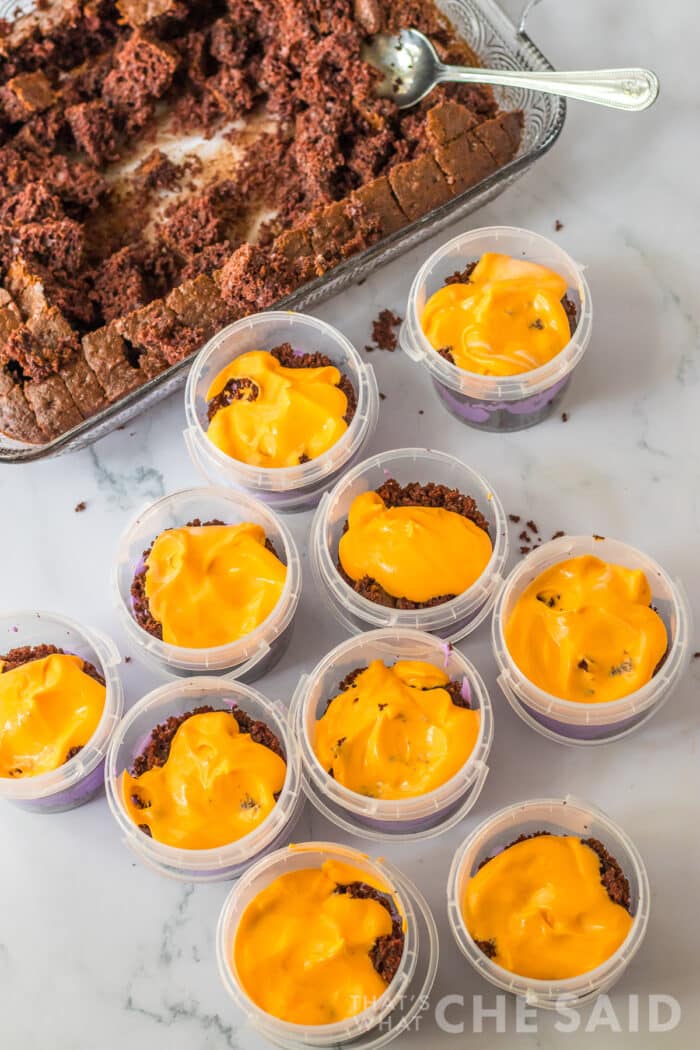
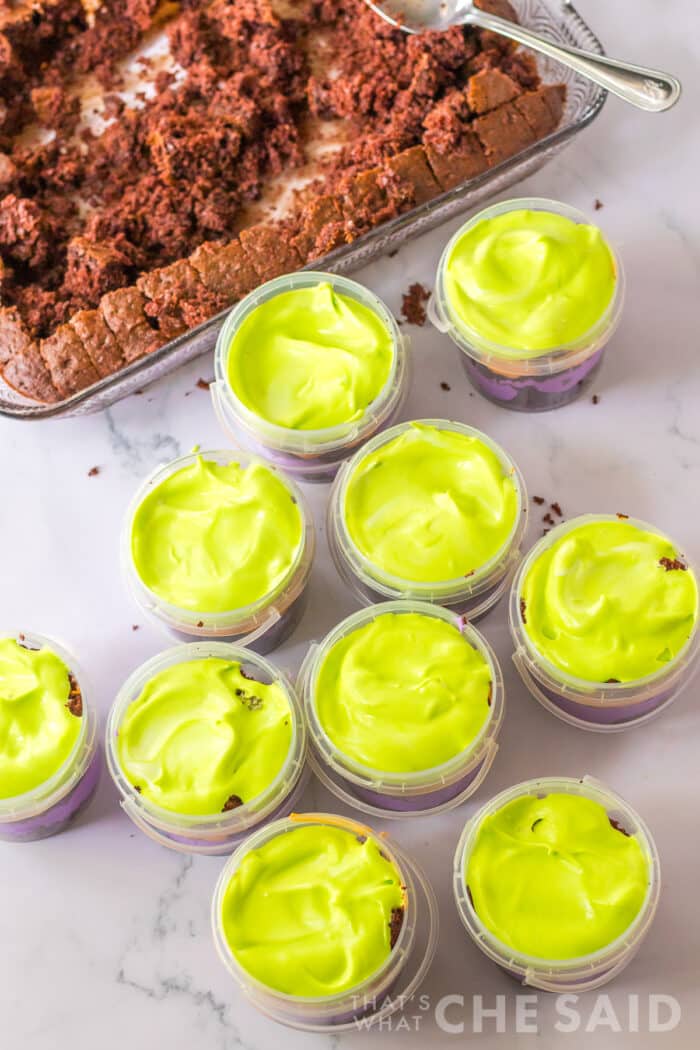
You can see why clear containers work so well here. Those bright layers are just too fun to hide!
4. Add the Graveyard Dirt
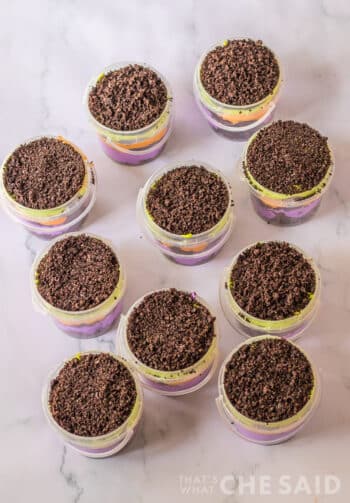
Once your pudding and cake layers are finished, top each cup evenly with the crushed Oreo cookies.
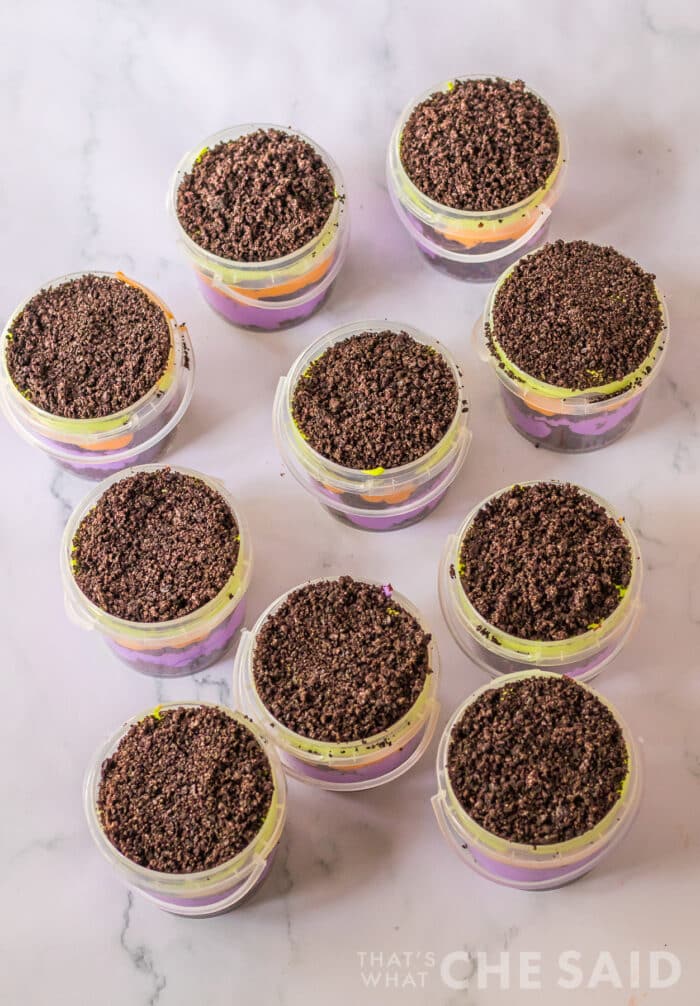
This is your graveyard dirt!
You want enough cookie crumbs to completely cover the top so that the pudding underneath isn’t visible.
5. Make the Cookie Gravestones
Now we need some gravestones!
Take your Milano cookies and cut off the bottom portion so the cookies have more of a gravestone shape.
Using food coloring and a small paintbrush, write R.I.P. or another spooky message on each cookie.
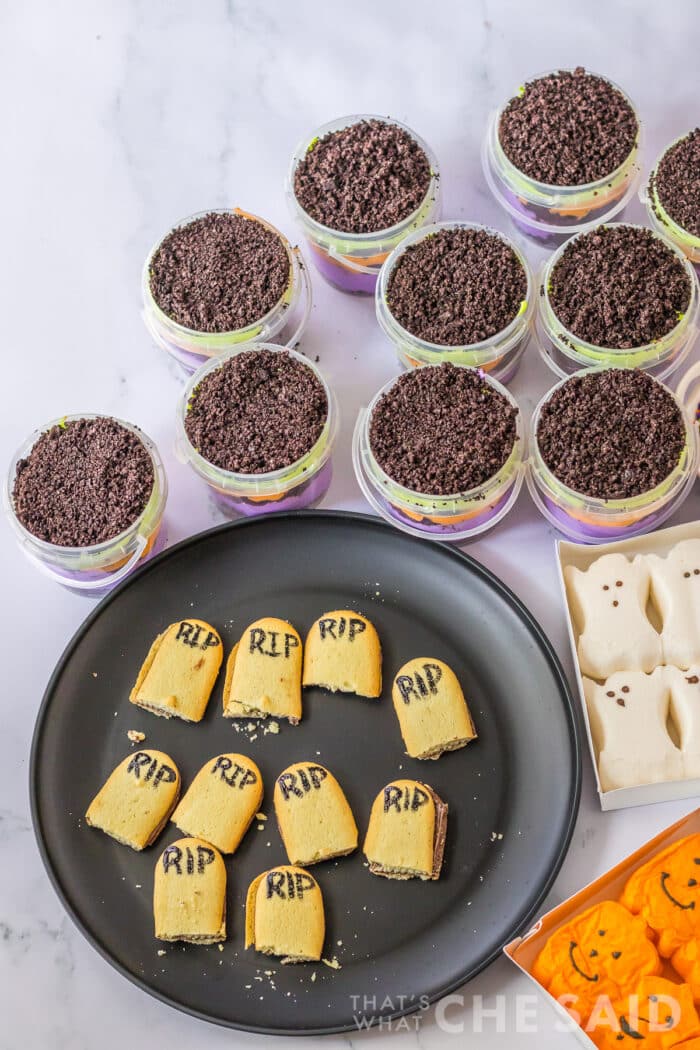
This is another great step for the kids to help with. And if their R.I.P. isn’t exactly perfect? Even better. It’s Halloween!
6. Decorate Your Graveyard Buckets
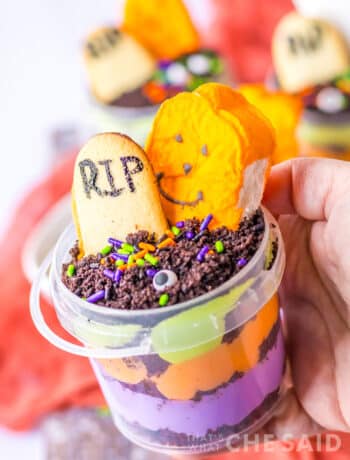
Stick a cookie gravestone into the top of each cup.
Then add your Halloween candy and sprinkles.
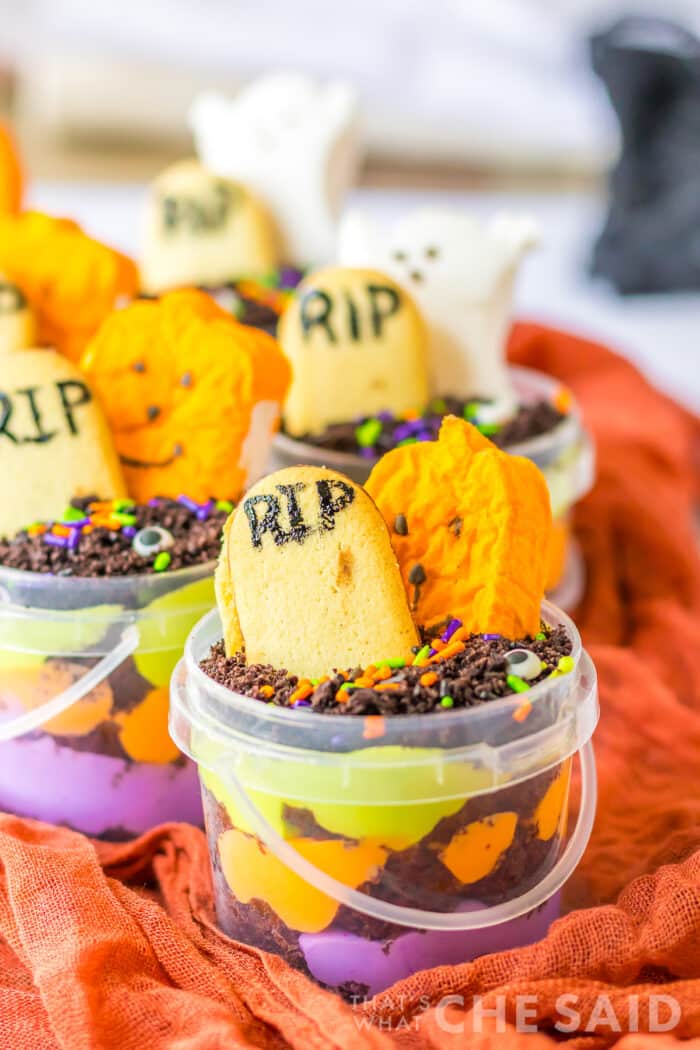
I especially love using Halloween sprinkles with little eyeballs mixed in because they make the graveyard look like there might be something lurking underneath that cookie dirt. 👀
You can also add little gummy worms, candy skulls, or whatever other spooky candy you have on hand.
The more ridiculous and spooky, the better!
7. Chill and Serve
Refrigerate the finished Graveyard Buckets before serving.
Then they’re ready for your Halloween party!
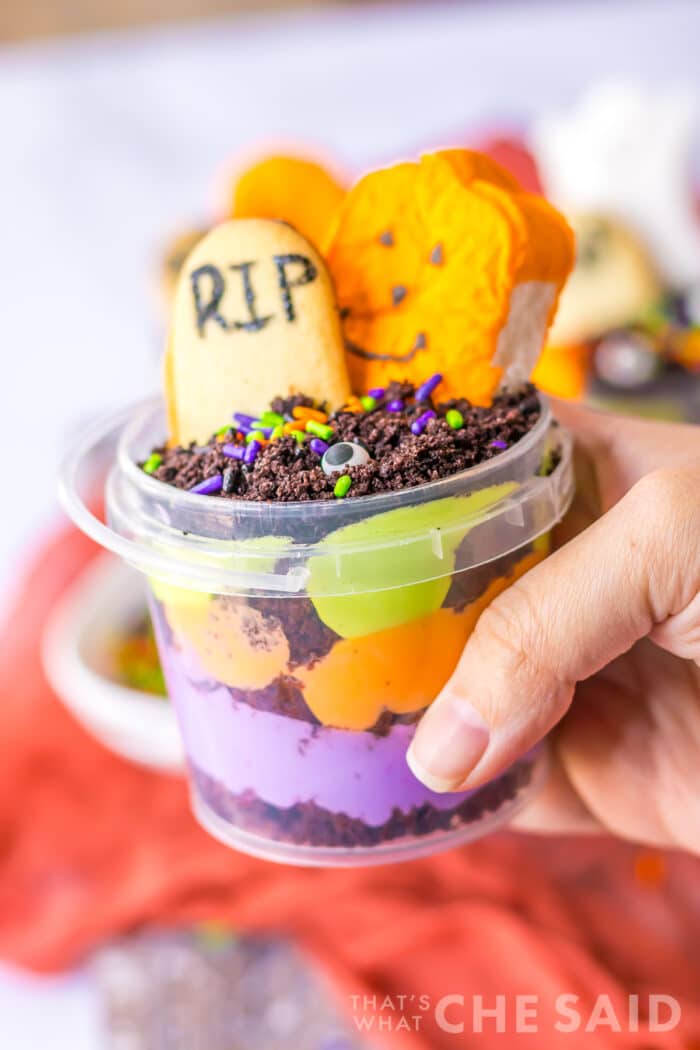
And because they’re already portioned into individual cups, there’s no slicing, scooping, or trying to figure out how to serve dessert while everyone is running around in costumes.
Just grab a bucket and dig in!
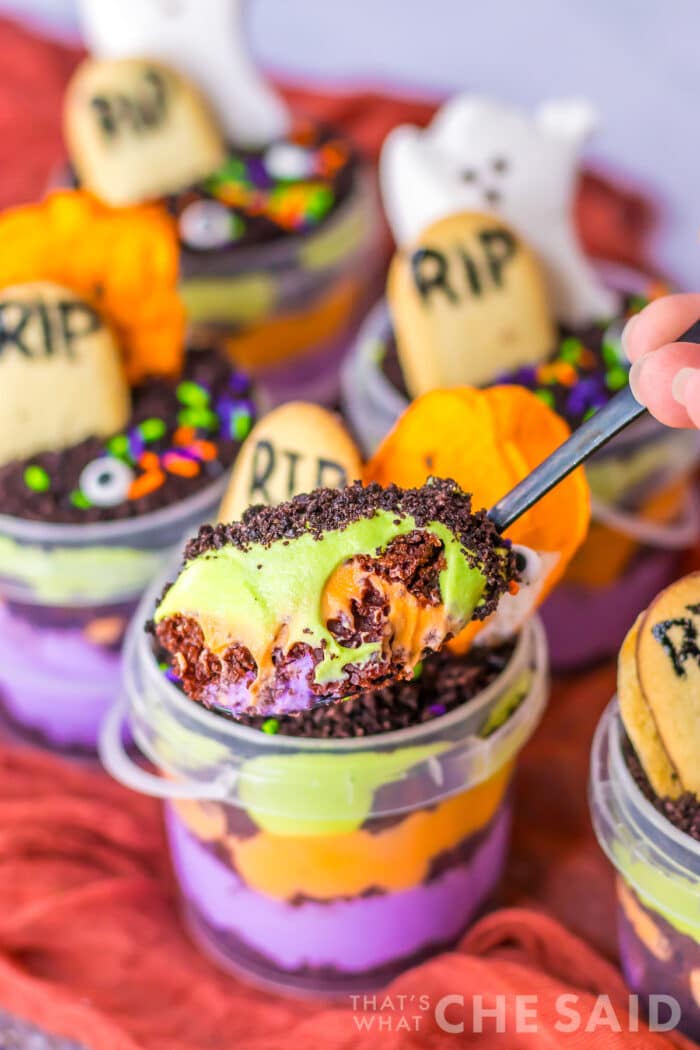
Halloween Graveyard Bucket Tips
Let the cake cool first.
Make sure the cake has cooled before assembling the cups. You don’t want warm cake turning your pudding layers into a melty mess.
Don’t stress about perfect layers.
These are graveyards, not a fancy pastry competition. A little messy layering actually adds to the look.
Make the gravestones ahead of time.
You can make your Milano cookie gravestones before assembling the cups. Just let the food coloring dry before adding them to the desserts.
Get creative with the decorations.
Gummy worms and candy skulls are perfect additions. You could also use candy eyeballs, Halloween sprinkles, or other spooky candies you already have in your pantry.
Try different pudding flavors.
The original recipe uses white chocolate instant pudding, but vanilla or cheesecake pudding can also be used.
Can I Make These Ahead?
Yes! That’s one of the things I love about these Halloween dessert cups.
The recipe is designed to be made ahead, so they’re a great option when you’re getting ready for a Halloween party and don’t want to be making dessert at the last minute.
Keep the finished cups refrigerated until you’re ready to serve them.
Leftovers can be stored in the refrigerator for up to 3 days.
More Ways to Make These Spooky
Want to change things up? Here are a few fun ideas:
- Add gummy worms crawling through the cookie dirt.
- Use candy skulls around the gravestones.
- Add candy eyeballs so something is watching you from the graveyard!
- Switch up the pudding colors for your favorite Halloween color combination.
- Make the gravestones say different things instead of just R.I.P.
- Let the kids decorate their own graveyard bucket.
A Halloween Dessert Everyone Can Get Into
There is just something about individual desserts that makes them extra fun, and these Halloween Graveyard Buckets take that idea to the next level.
You’ve got cake, creamy pudding, crunchy chocolate cookie crumbs, and candy all packed into one little bucket. Then you get to stick a cookie gravestone right in the middle.
What’s not to love?
They’re spooky without being scary, easy enough for kids to help make, and festive enough to be the star of your Halloween dessert table.
So grab some little clear buckets, get your Halloween candy stash ready, and start building your own little graveyard!
Just don’t be surprised if the gummy worms mysteriously disappear before you finish decorating. 😉
Graveyard Buckets
Equipment
- 10 Plastic Treat Buckets - 8 ounce
Ingredients
Cake Ingredients
- 1 box Devil's Food cake, 15.25 ounce box
- 1 cup water, use what the cake box calls for
- 1/2 cup vegetable oil, use what the cake box calls for
- 2 eggs, use what the cake box calls for
Pudding Ingredients
- 2 boxes White chocolate instant pudding, 3.4 ounce box
- 4 cups milk, cold
- 8 ounces Whipped Topping
Decorations
- Neon green, orange and purple food coloring
- 1 ½ cups Oreo cookies, crushed
- Milano cookies
- Halloween candy and sprinkles for decor
Instructions
Make & Bake the Cake
- Preheat your oven to 350 degrees.
- In a large bowl combine the cake mix and the water, oil and eggs the box calls for.1 box Devil's Food cake, 1 cup water, 1/2 cup vegetable oil, 2 eggs
- Pour the cake batter into a prepared 9×13 baking dish.
- Bake for 30-35 minutes or until a toothpick inserted comes out clean.
- Slice into bite size squares.
- Set aside to cool.
Make the Pudding
- Meanwhile prepare the pudding.
- Combine the pudding with the milk and whisk.2 boxes White chocolate instant pudding, 4 cups milk
- Fold in the whipped topping.8 ounces Whipped Topping
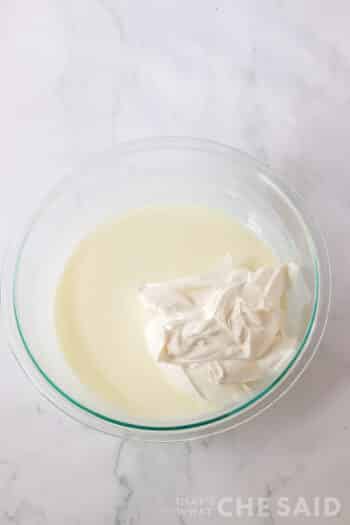
- Separate the filling to 3 bowls and color each bowl with one of the food colorings.Neon green
Assemble & Decorate the Buckets
- Into your buckets place a little of the cake.
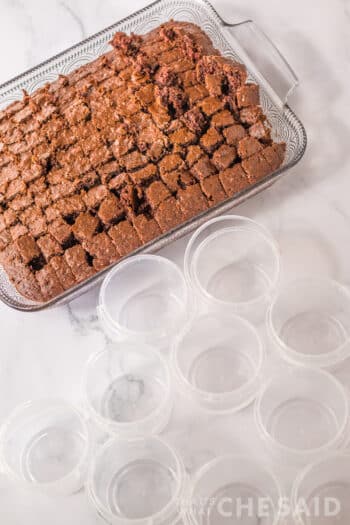
- Next a layer of one of the puddings.
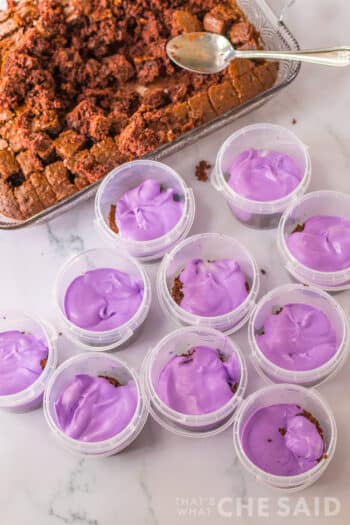
- Repeat the layers so you have 3 layers of pudding, each a different color.
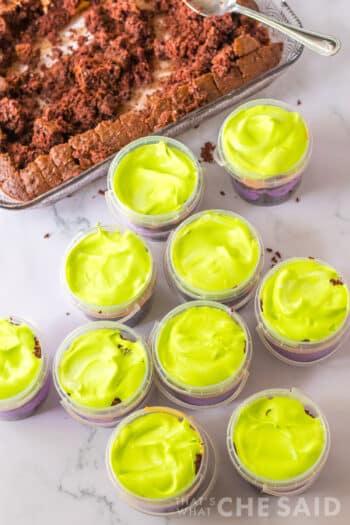
- Top each one evenly with the cookie crumbs.1 ½ cups Oreo cookies
- Cut the bottom of the Milano cookie off.Milano cookies
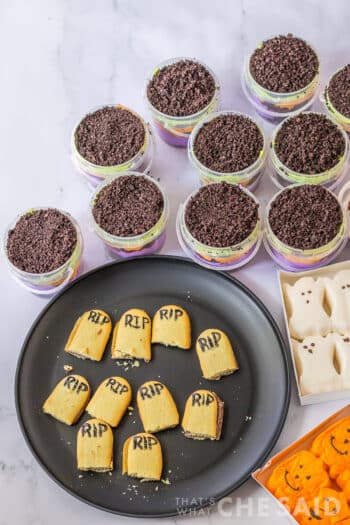
- Using food coloring and a little paint brush you can paint on the cookies R.I.P and such.
- Decorate the buckets with the gravestones, candy and sprinkles.Halloween candy and sprinkles for decor
- Refrigerate for an hour.
- Serve!

Notes
● You can use vanilla or cheesecake pudding if you like.
● Decorate with little gummy worms or candy skulls too, anything to make these spooky.
Nutrition Estimate









Leave A Reply!